OCTAVIUS 4D Setup
We can highly recommend the use of the (optional) trolley (T40057). Due to the weight of the rotation unit (nearly 30 kg with Standard top installed), it is very impractical to carry the phantom around.
The couch is lowered to about 50 cm below isocenter, then the trolley is moved over the couchtop from the side:
Longitudinally, we select a location on the couchtop which is close to the gantry. This makes shure that the beam passes only through the thin part of the couchtop (this corresponds to the setup in Eclipse, we we have inserted a "thin" synthetic IGRT couchtop).
The couch is carefully raised until the phantom stands on it's own feet. Then the Trolley can be (again, carefully!) withdrawn.
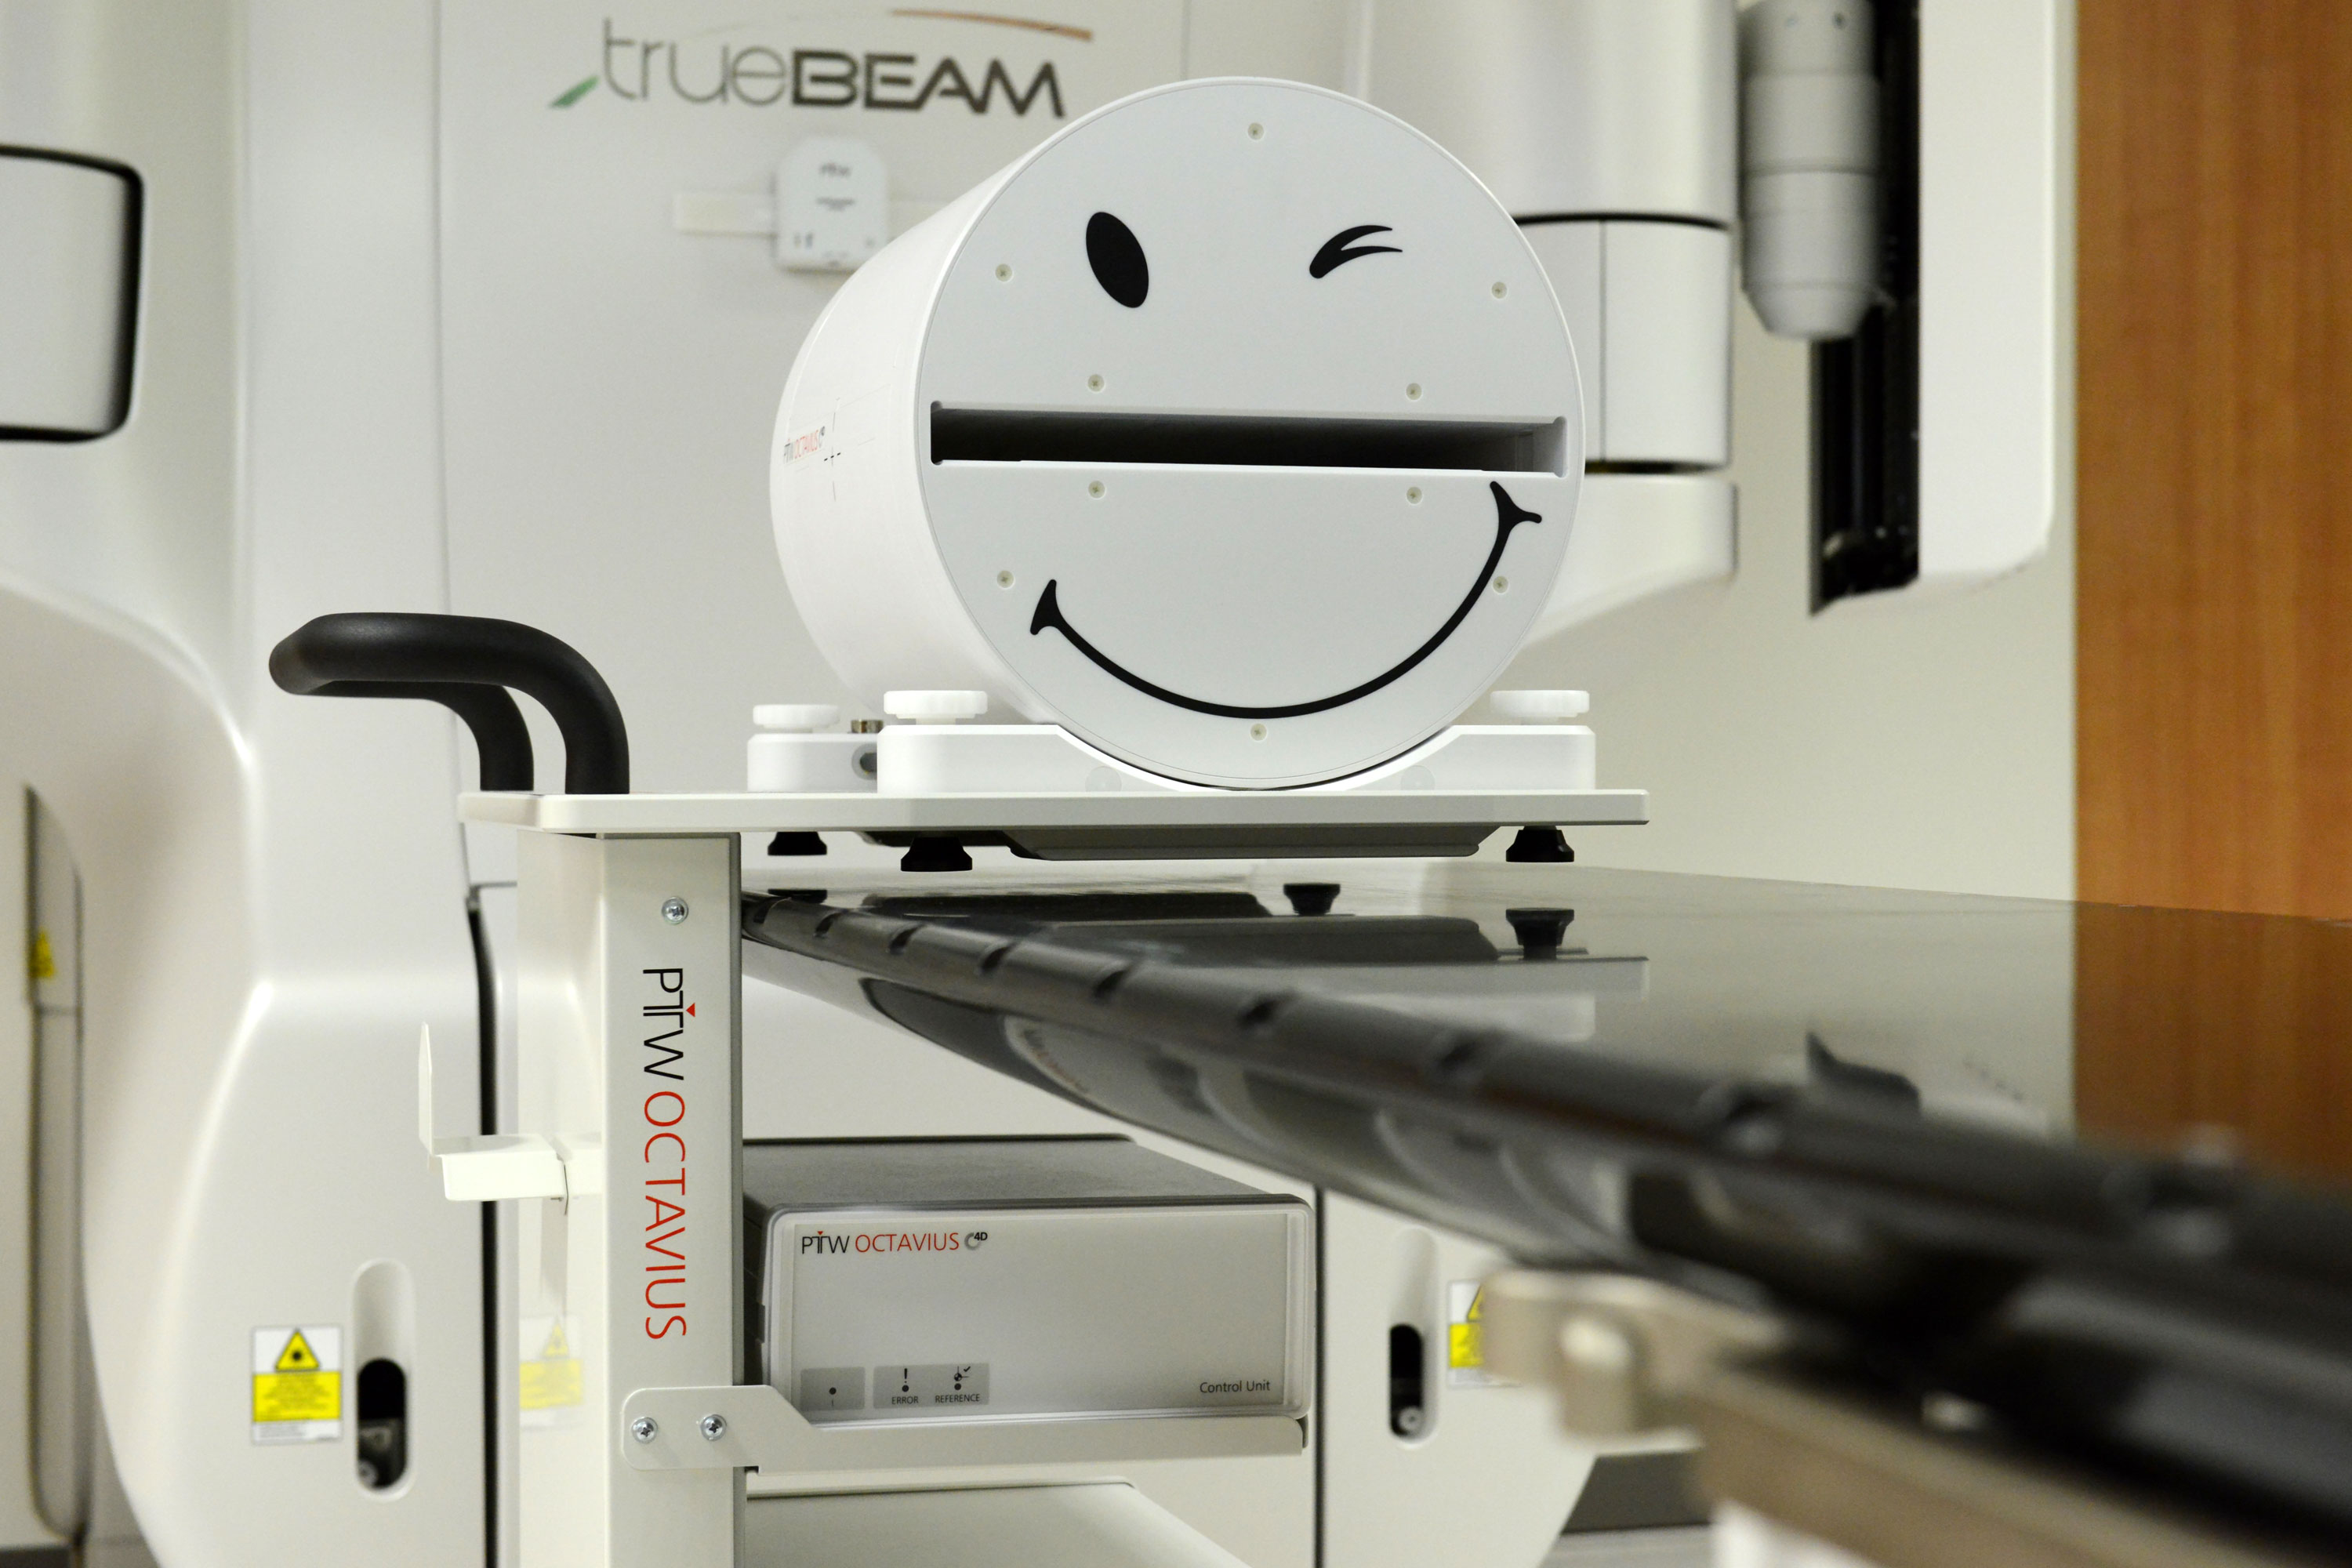
The 2D Array is inserted next. Care should be taken that it is not just pushed in until the first resistance is felt (which is about here):
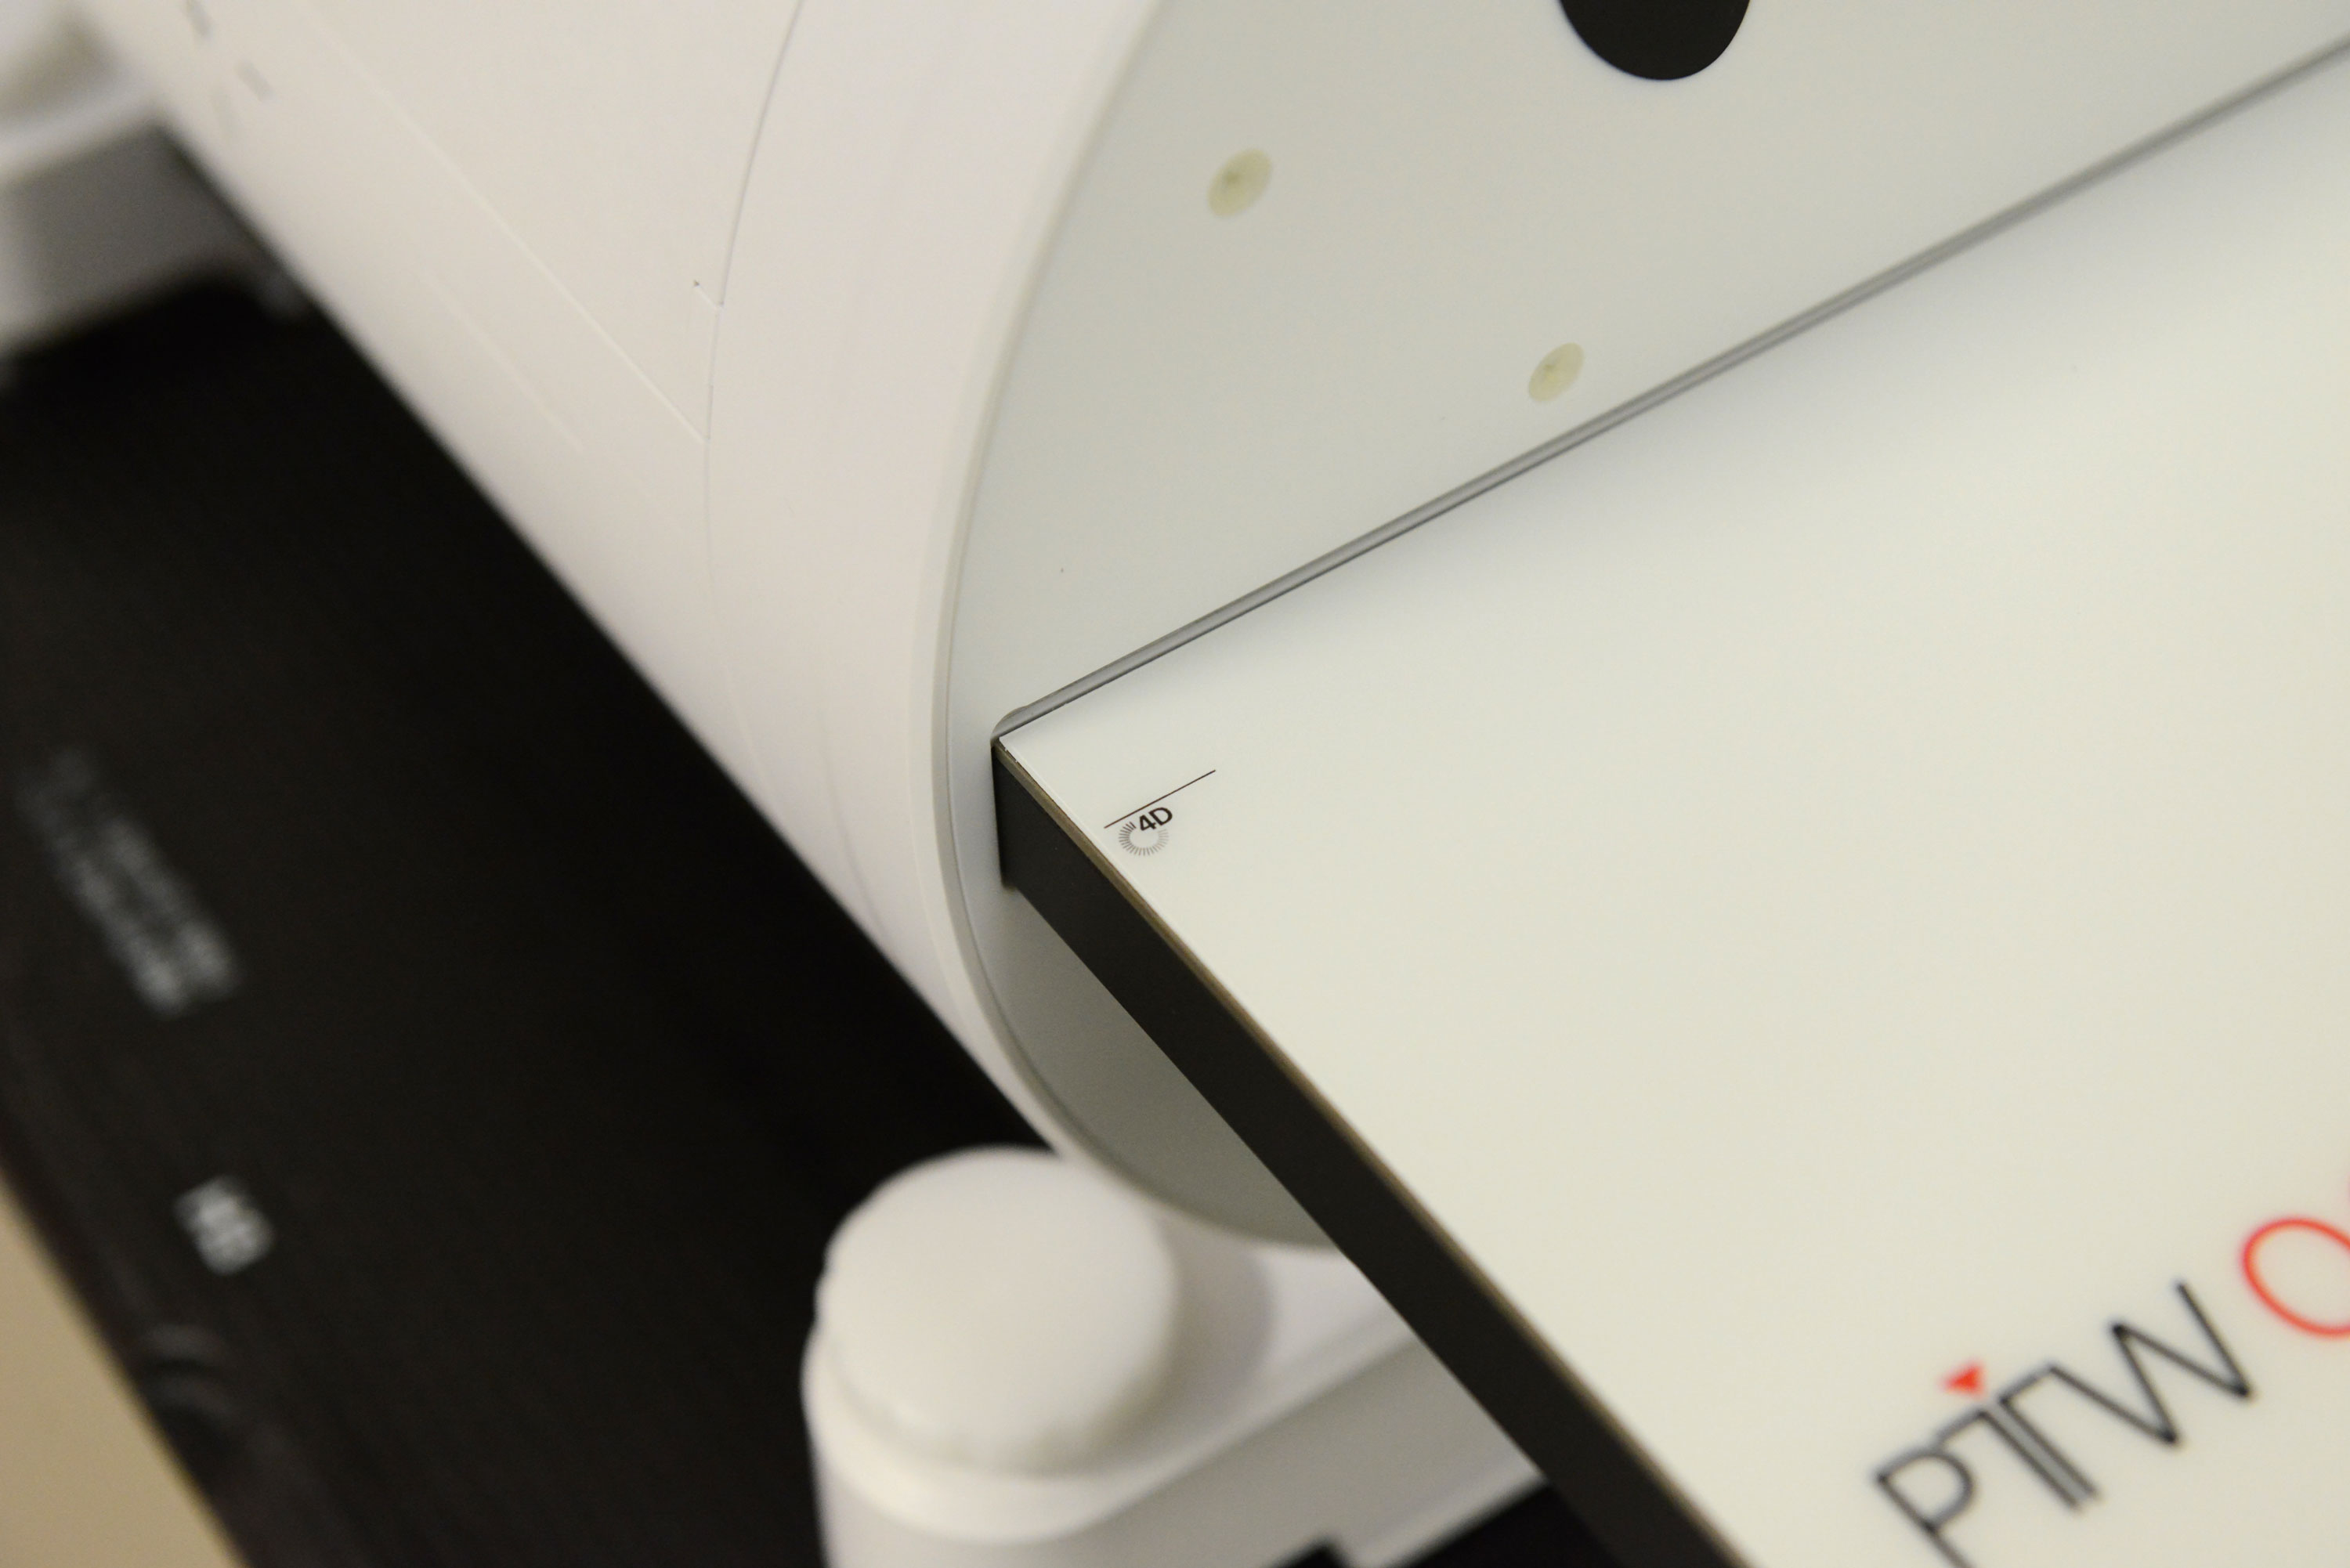
It can still be moved in a little further. The "4D" marker on the Array surface shows that the correct position is reached:
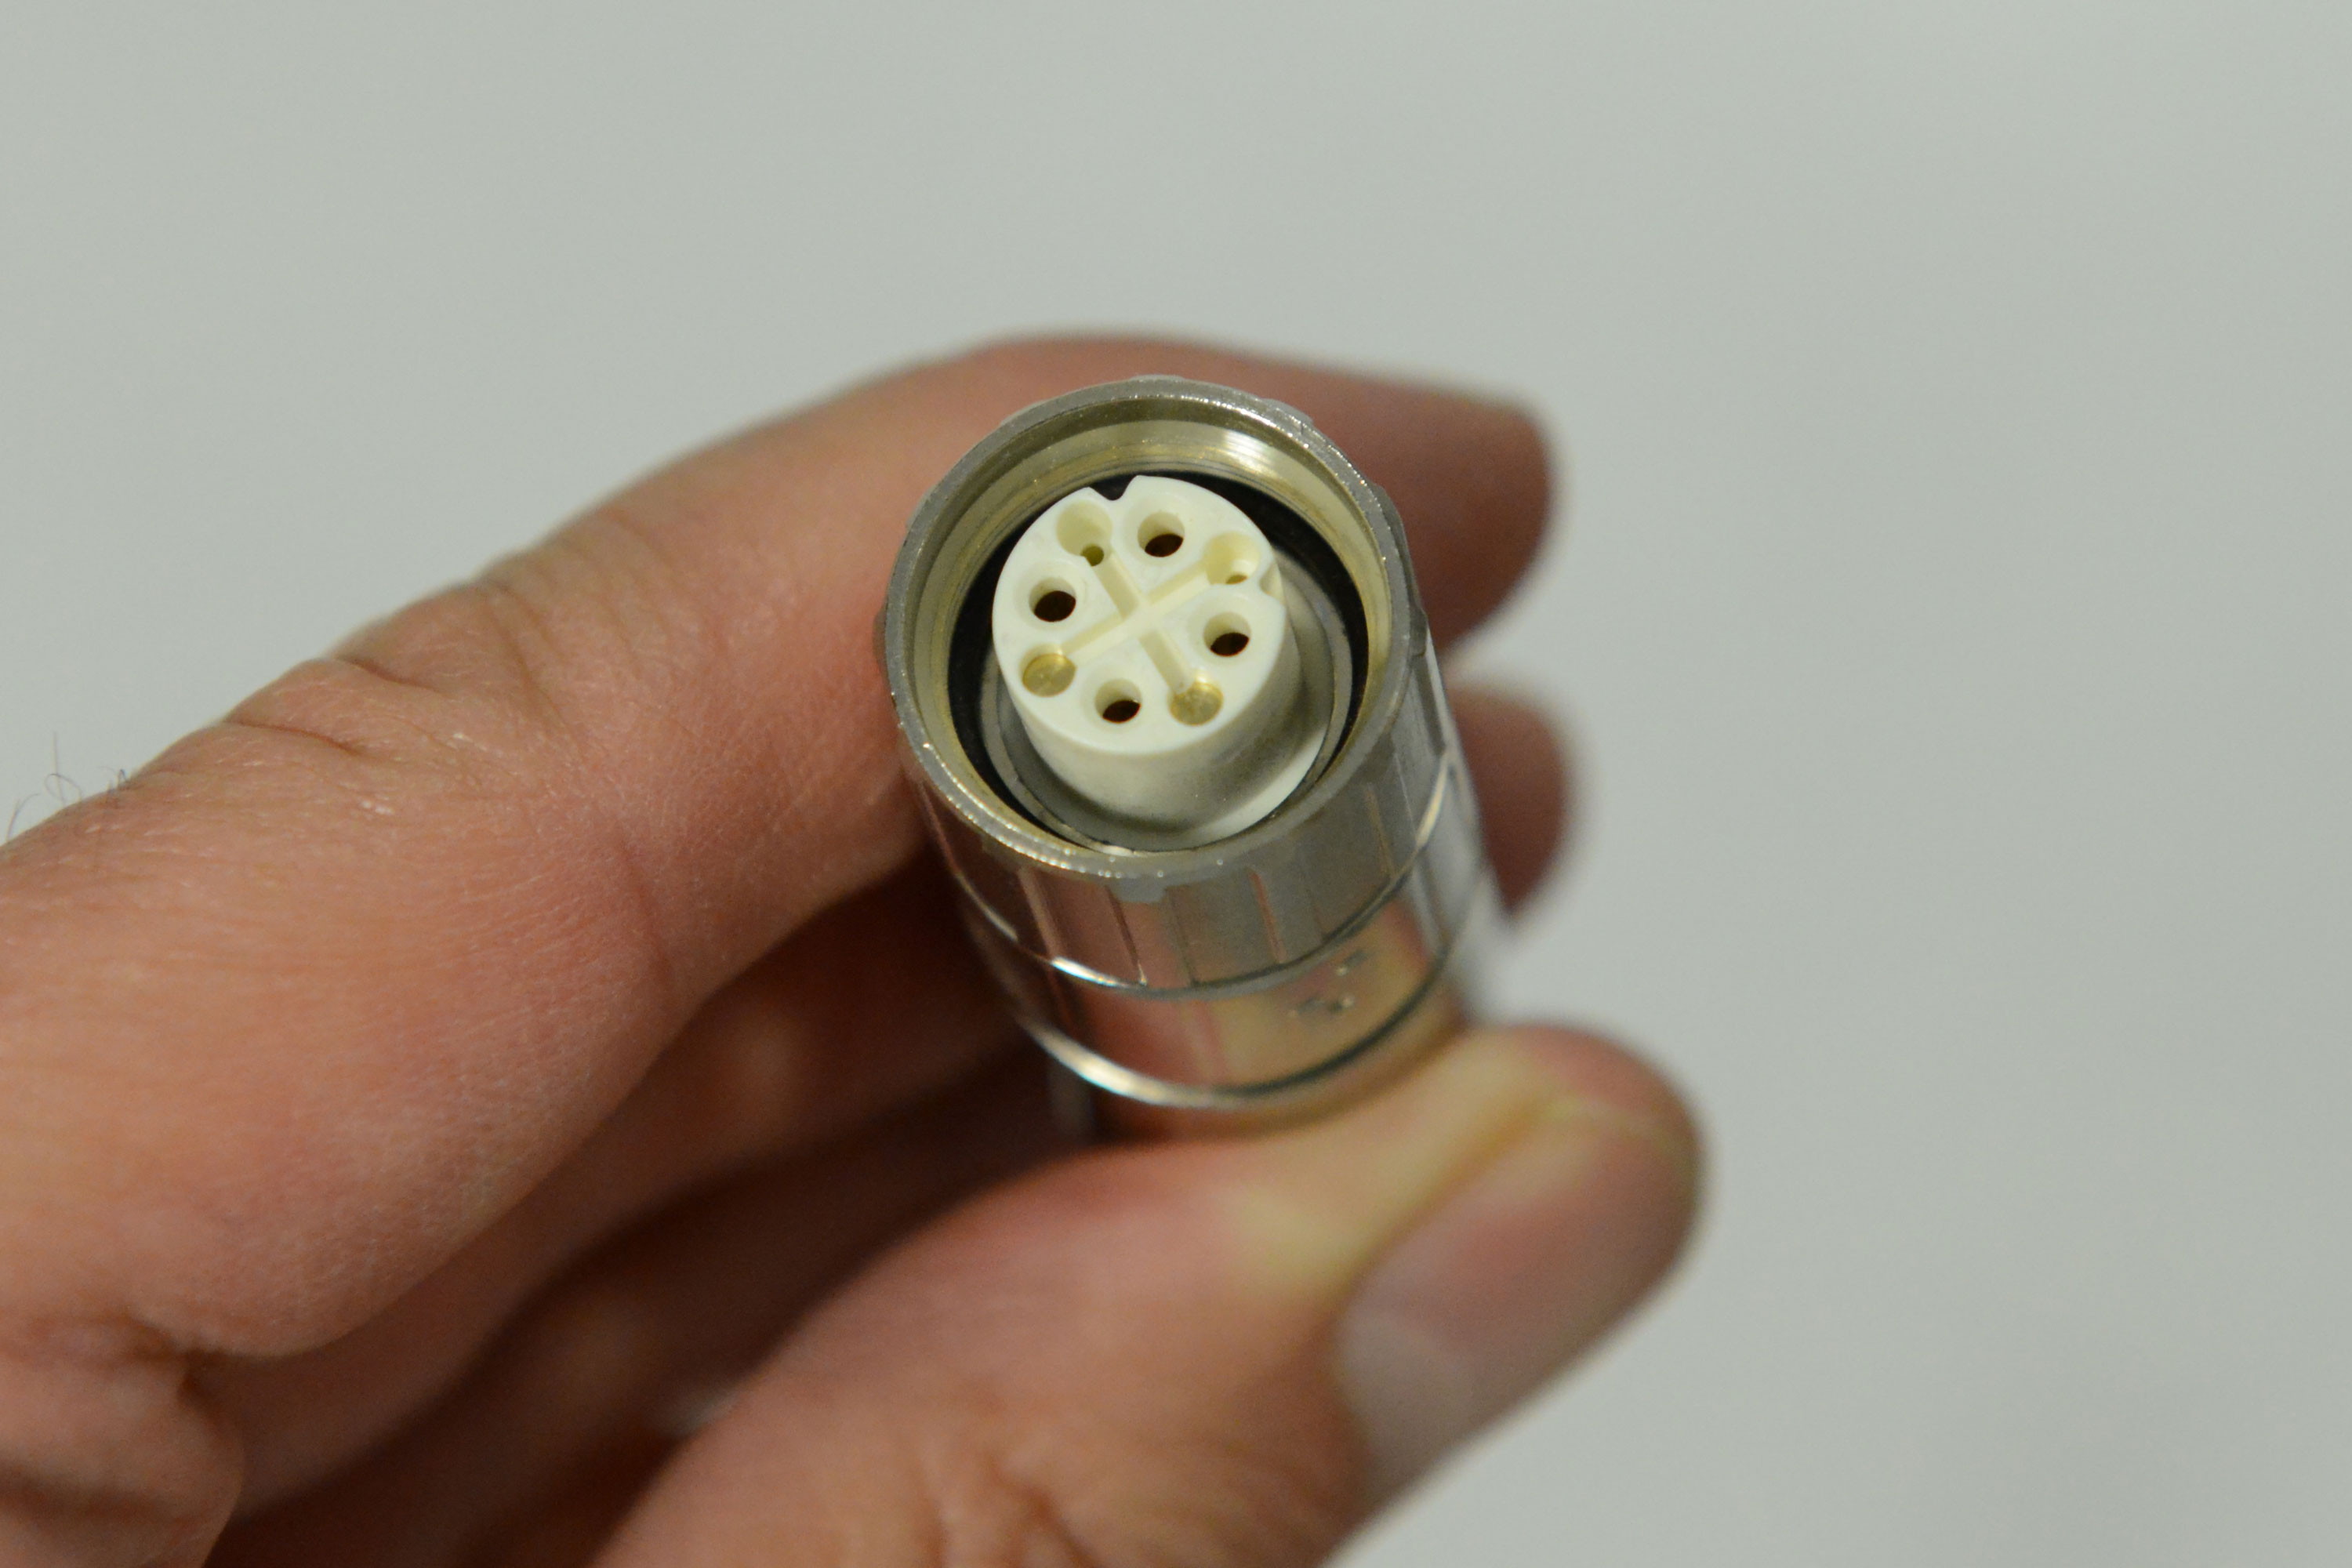
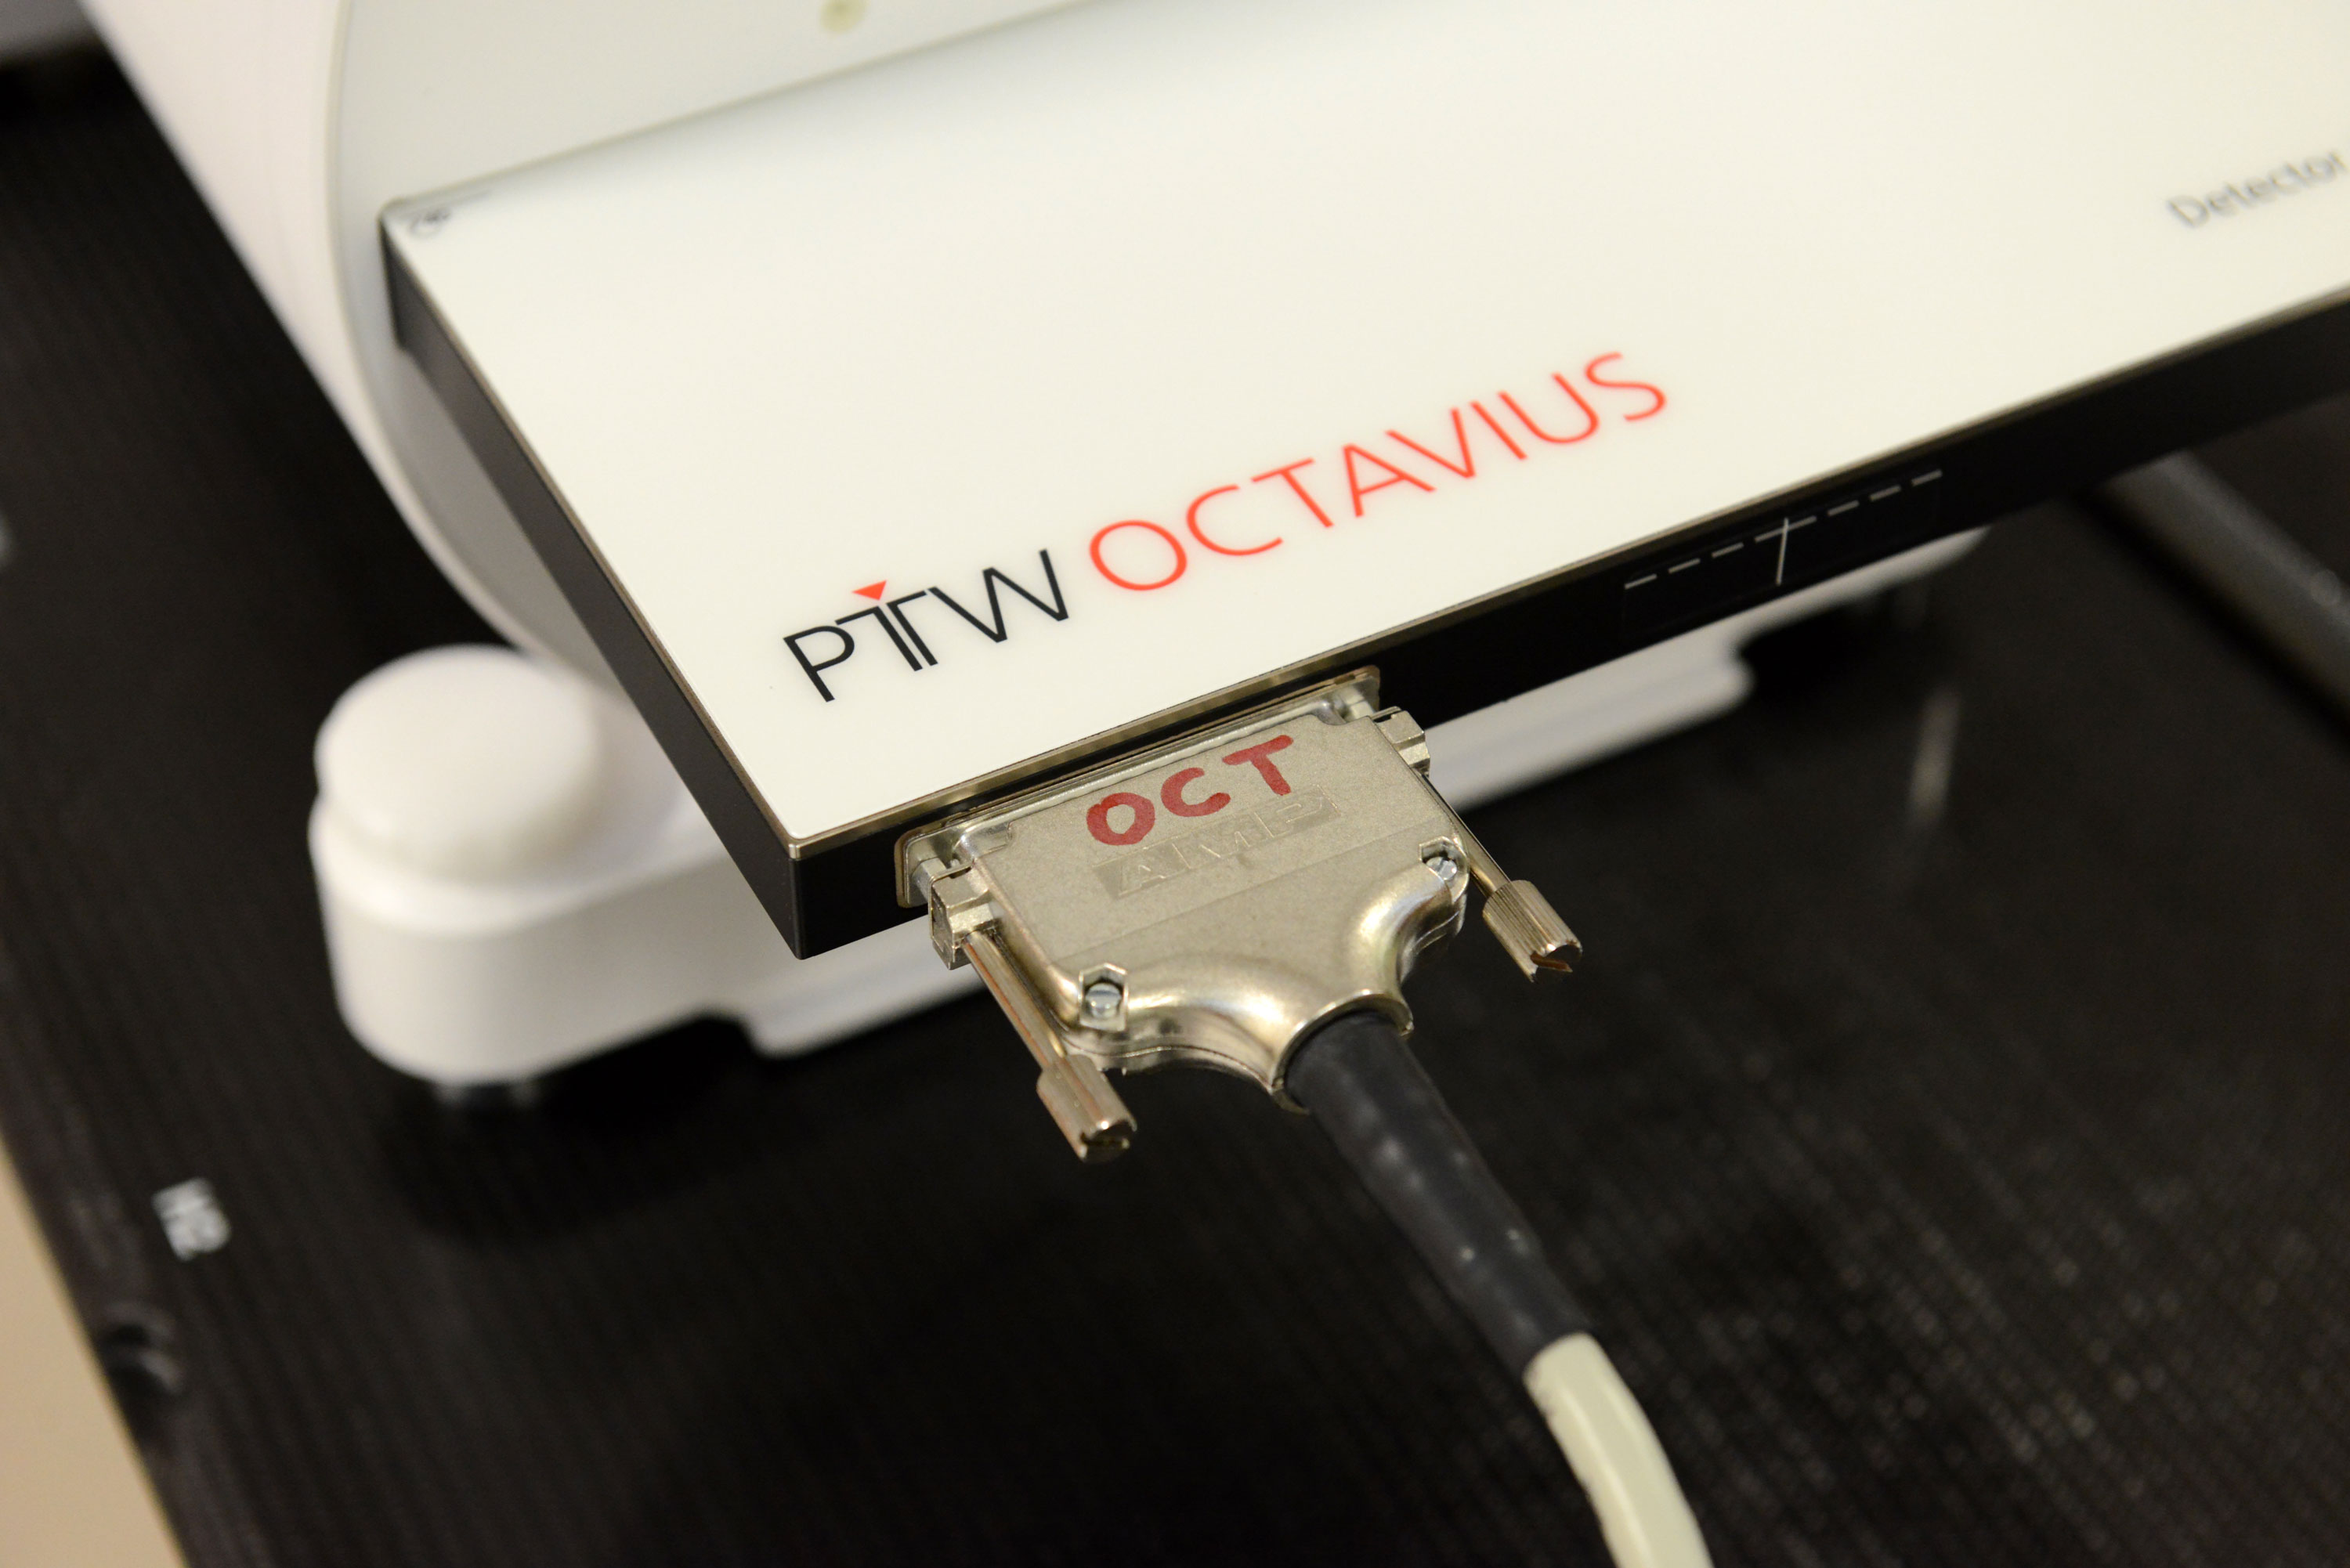
Control Unit and Interface 4000 are placed on the couchtop. Two cables leave the phantom. The first goes from the Rotation Unit to the Control Unit. Because the two small notches in the plug and the socket are hard to see from normal viewing distance,
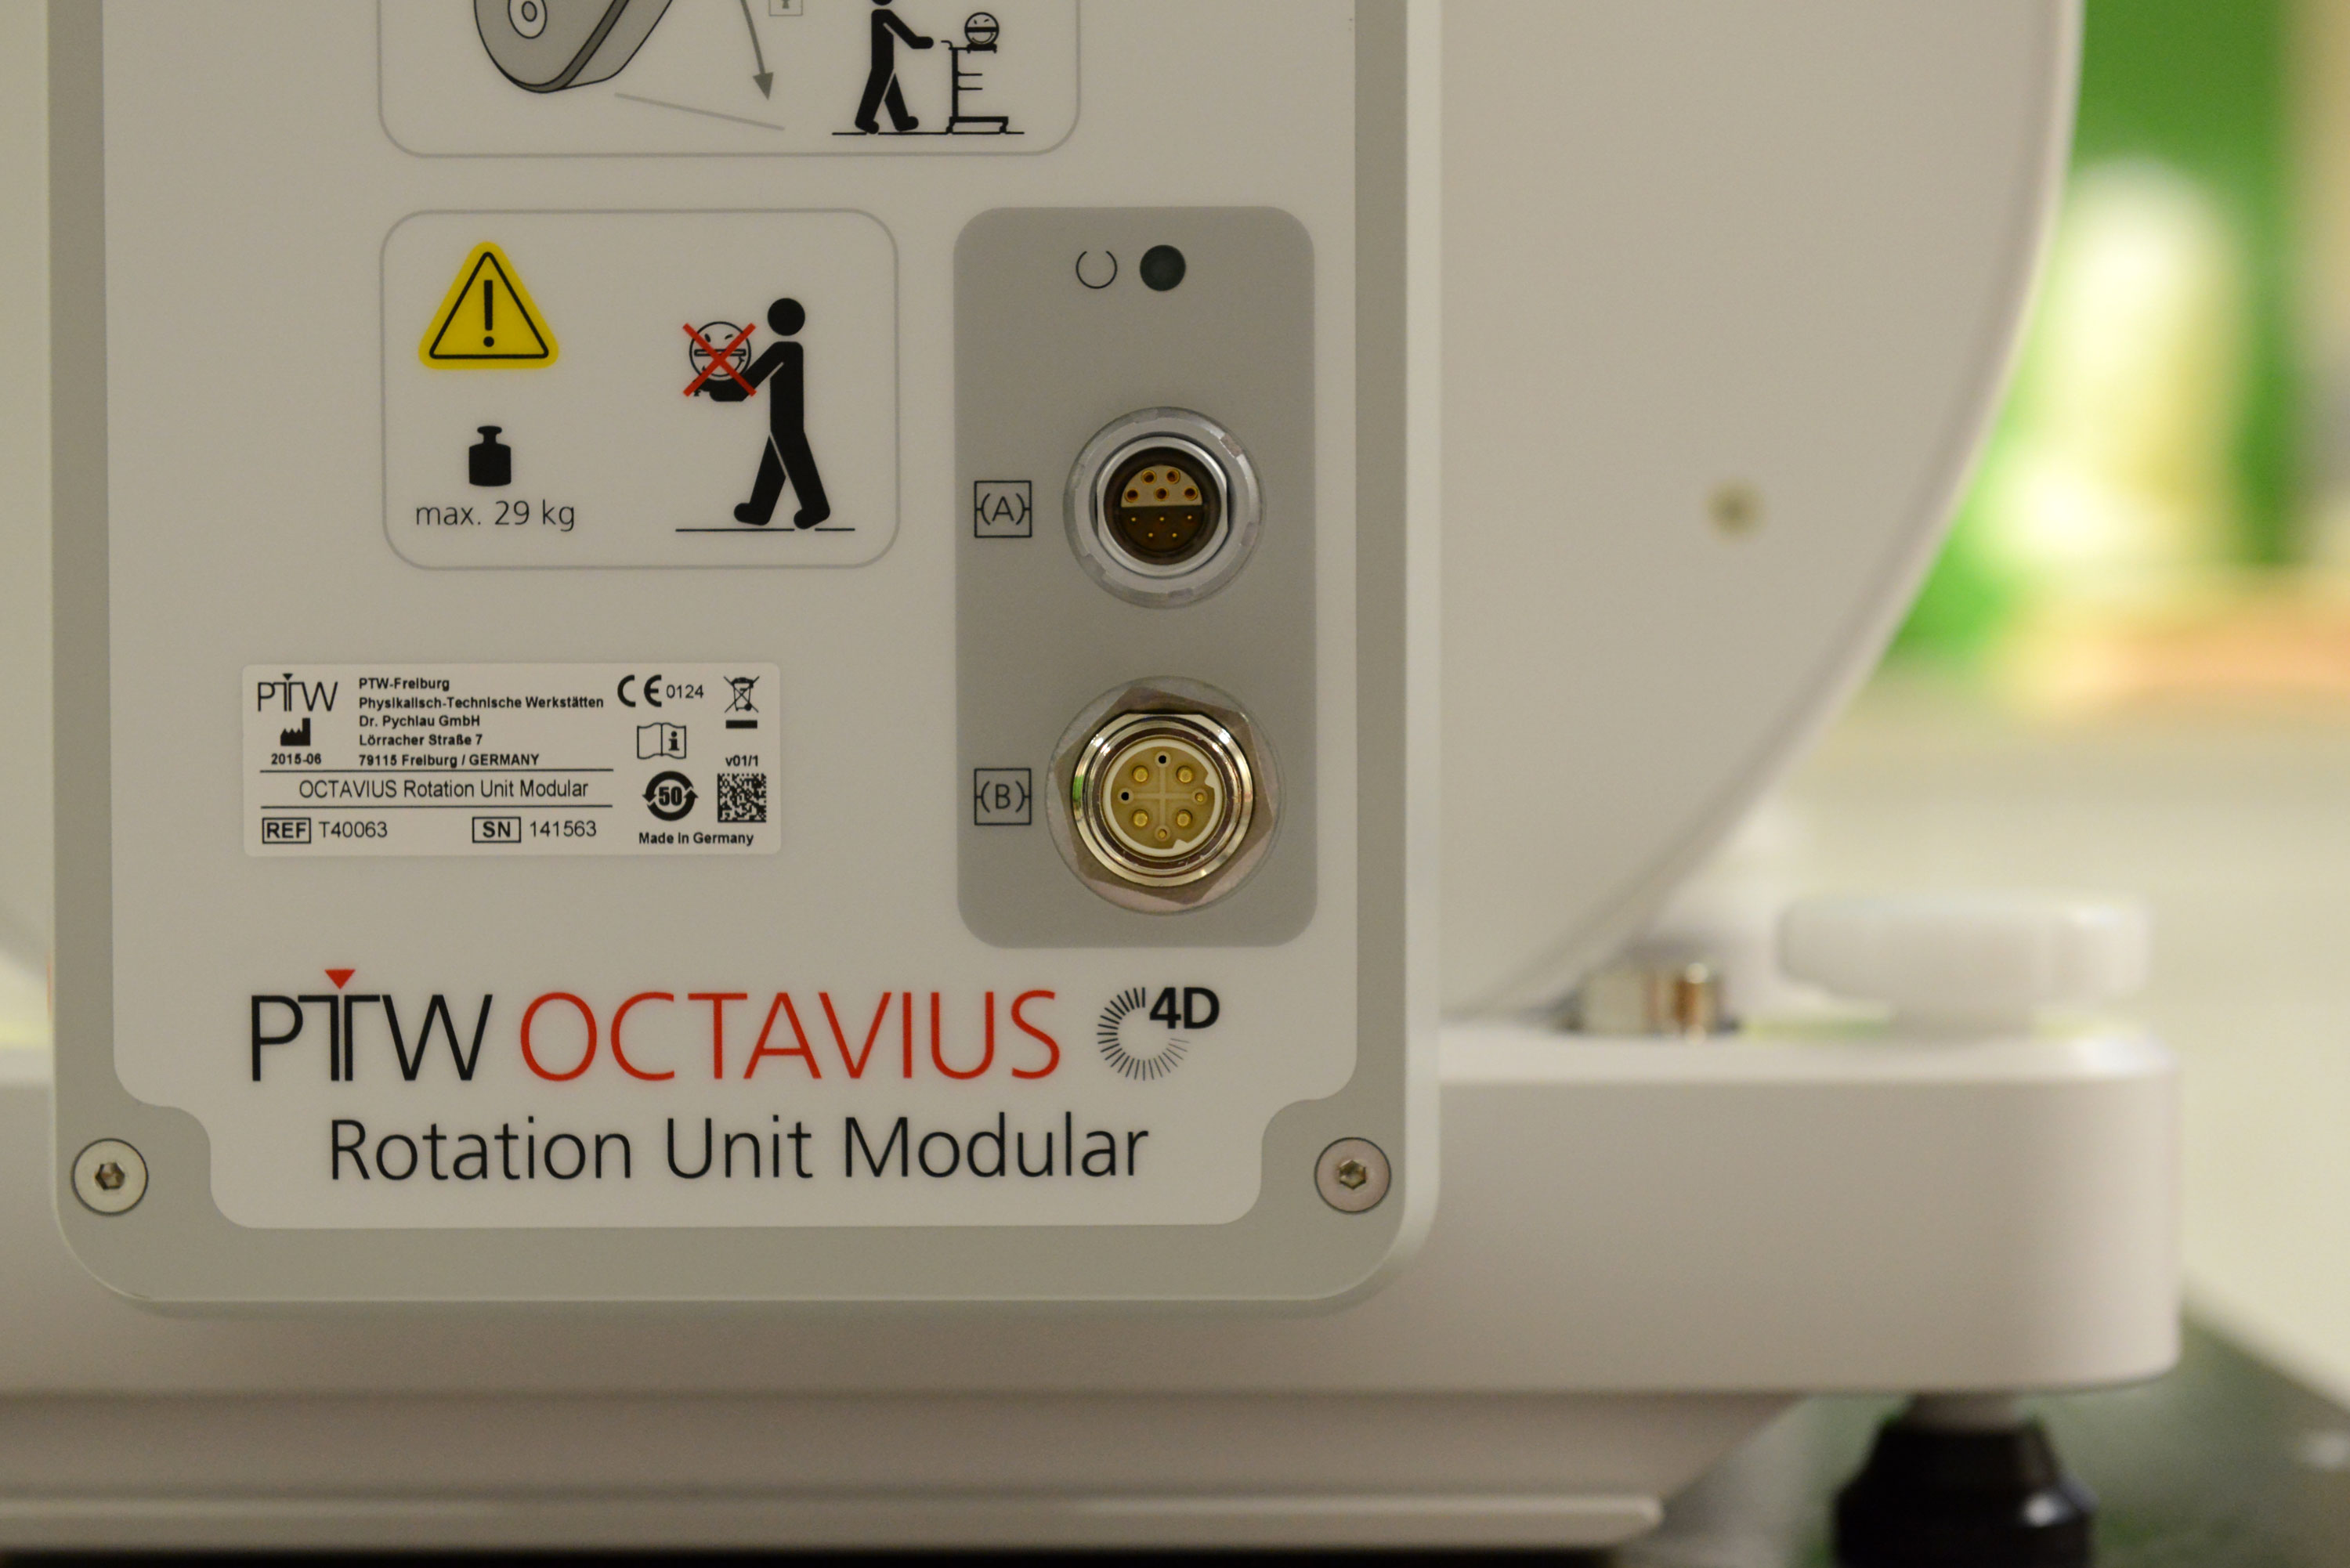
we marked the connectors on the outside with a permanent marker:
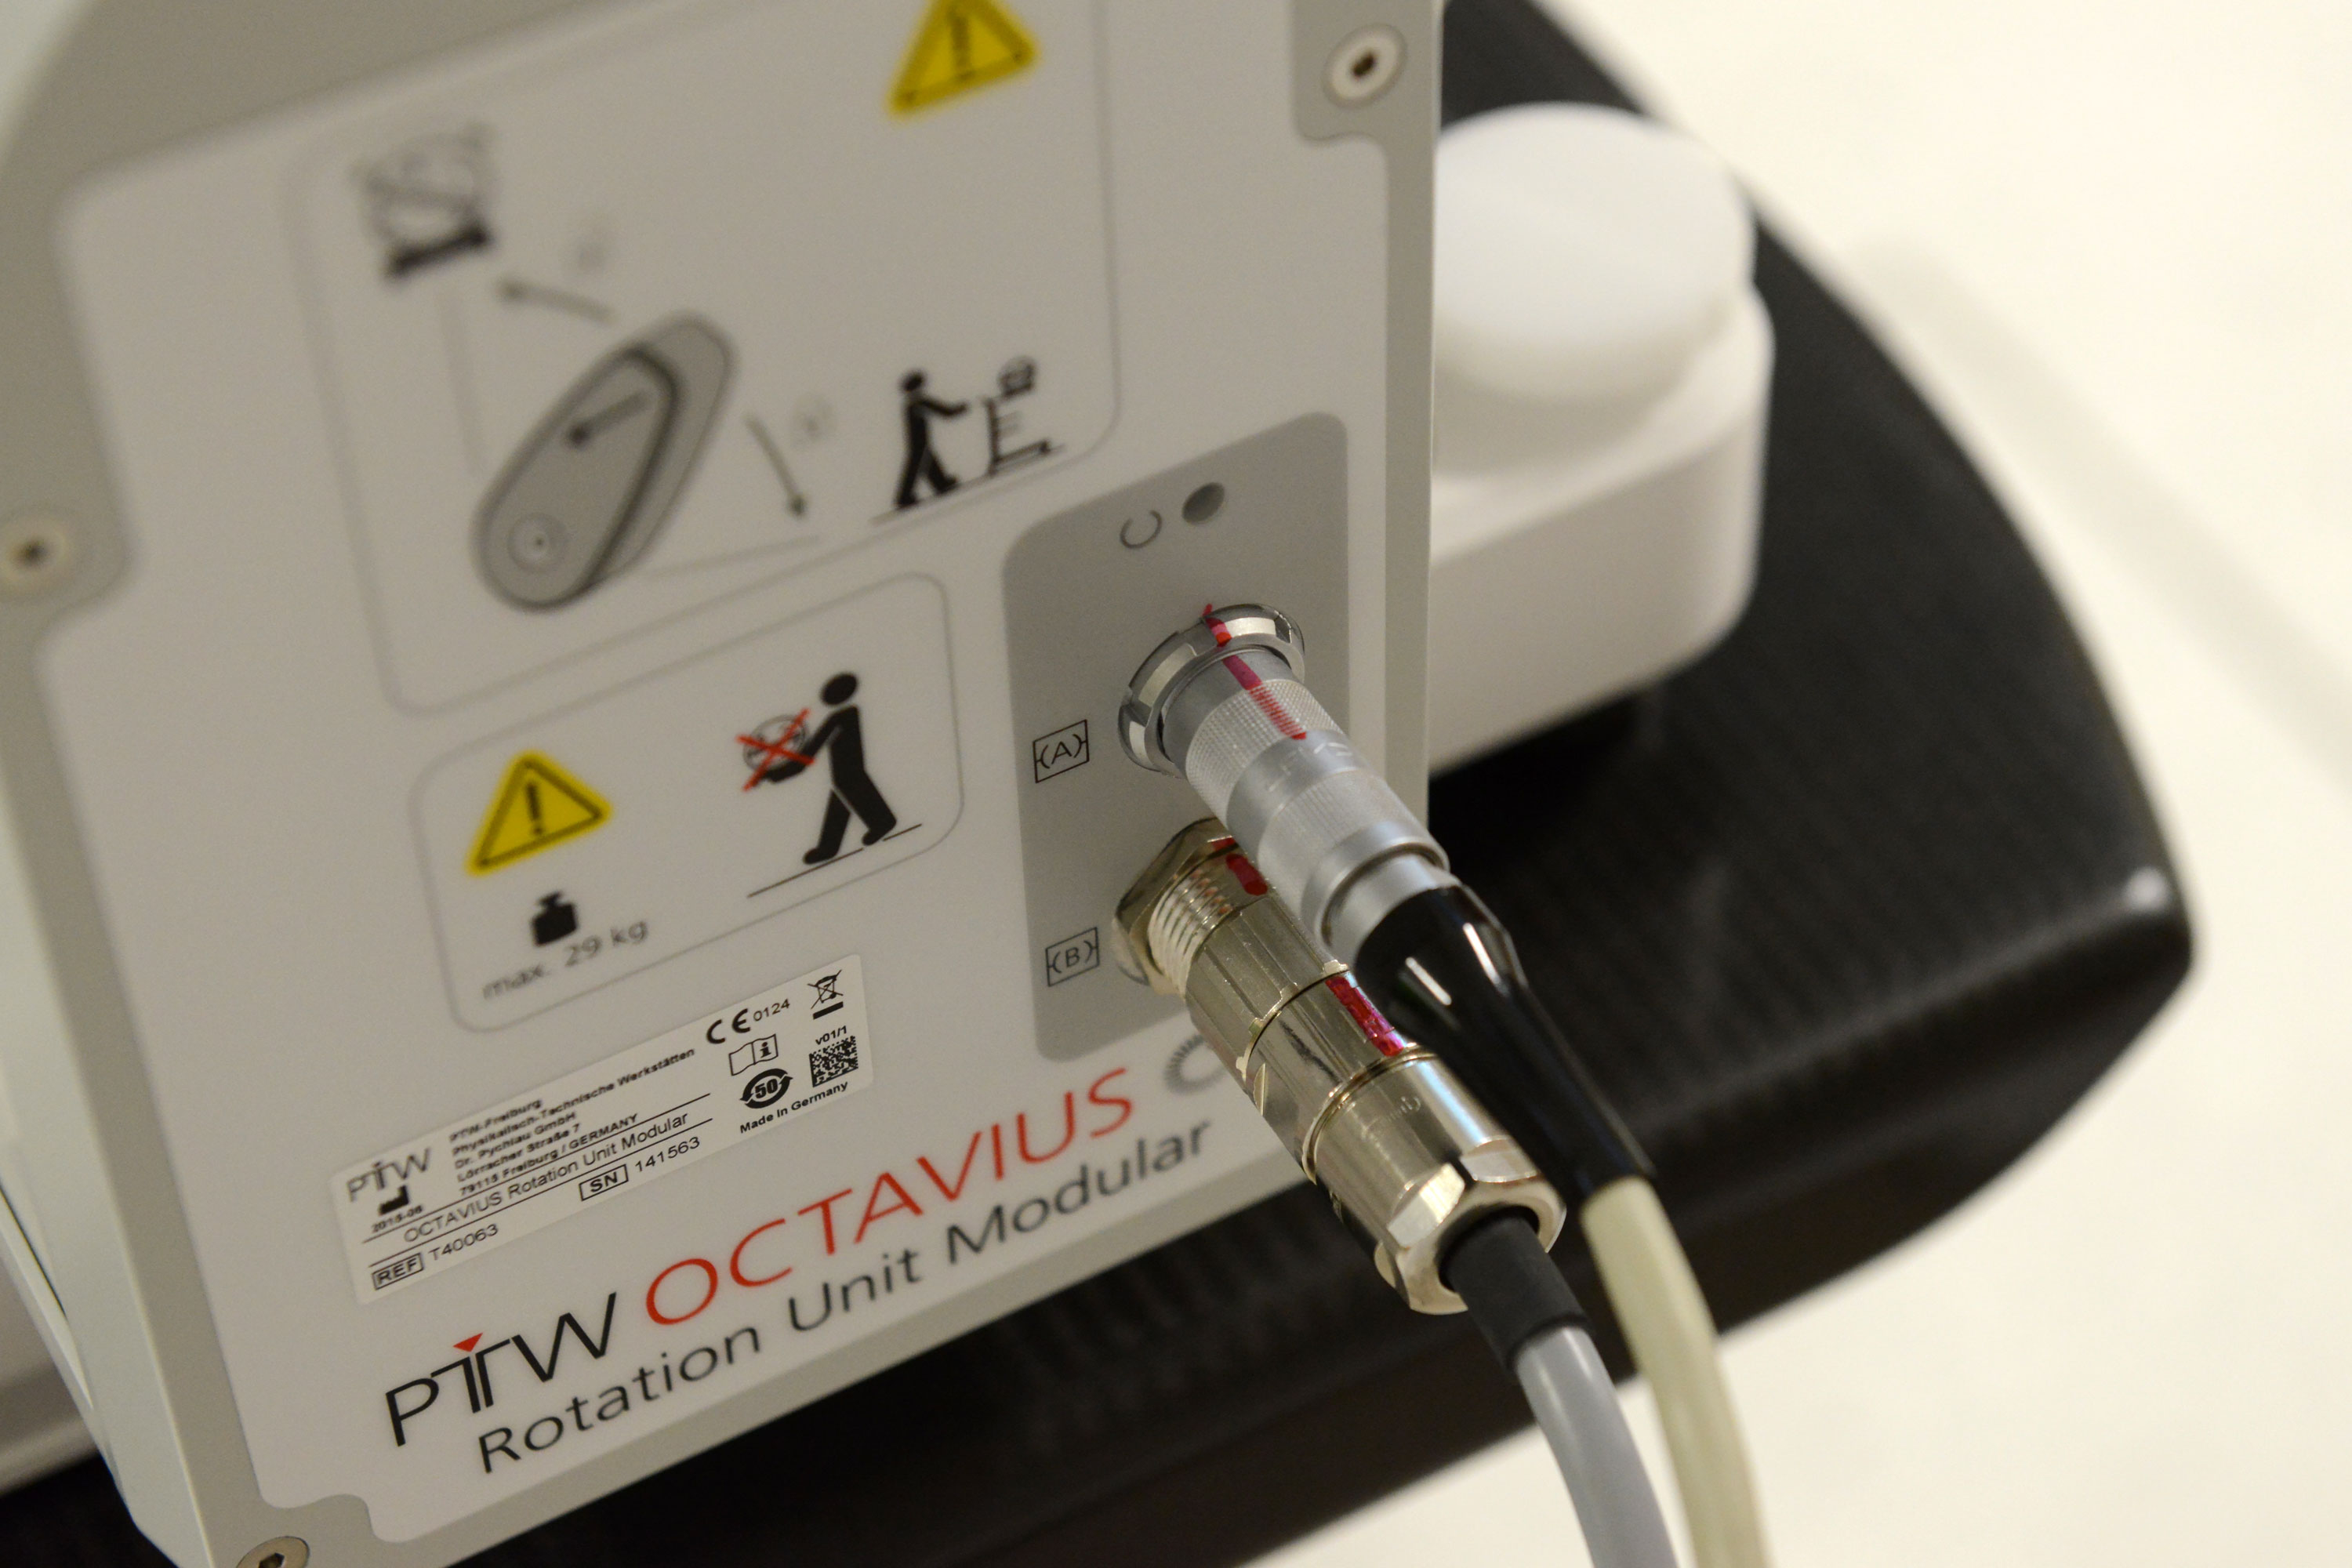
This helps finding the correct rotation of the connectors quickly.
The other end of the grey cable goes into the back side of the Control Unit:
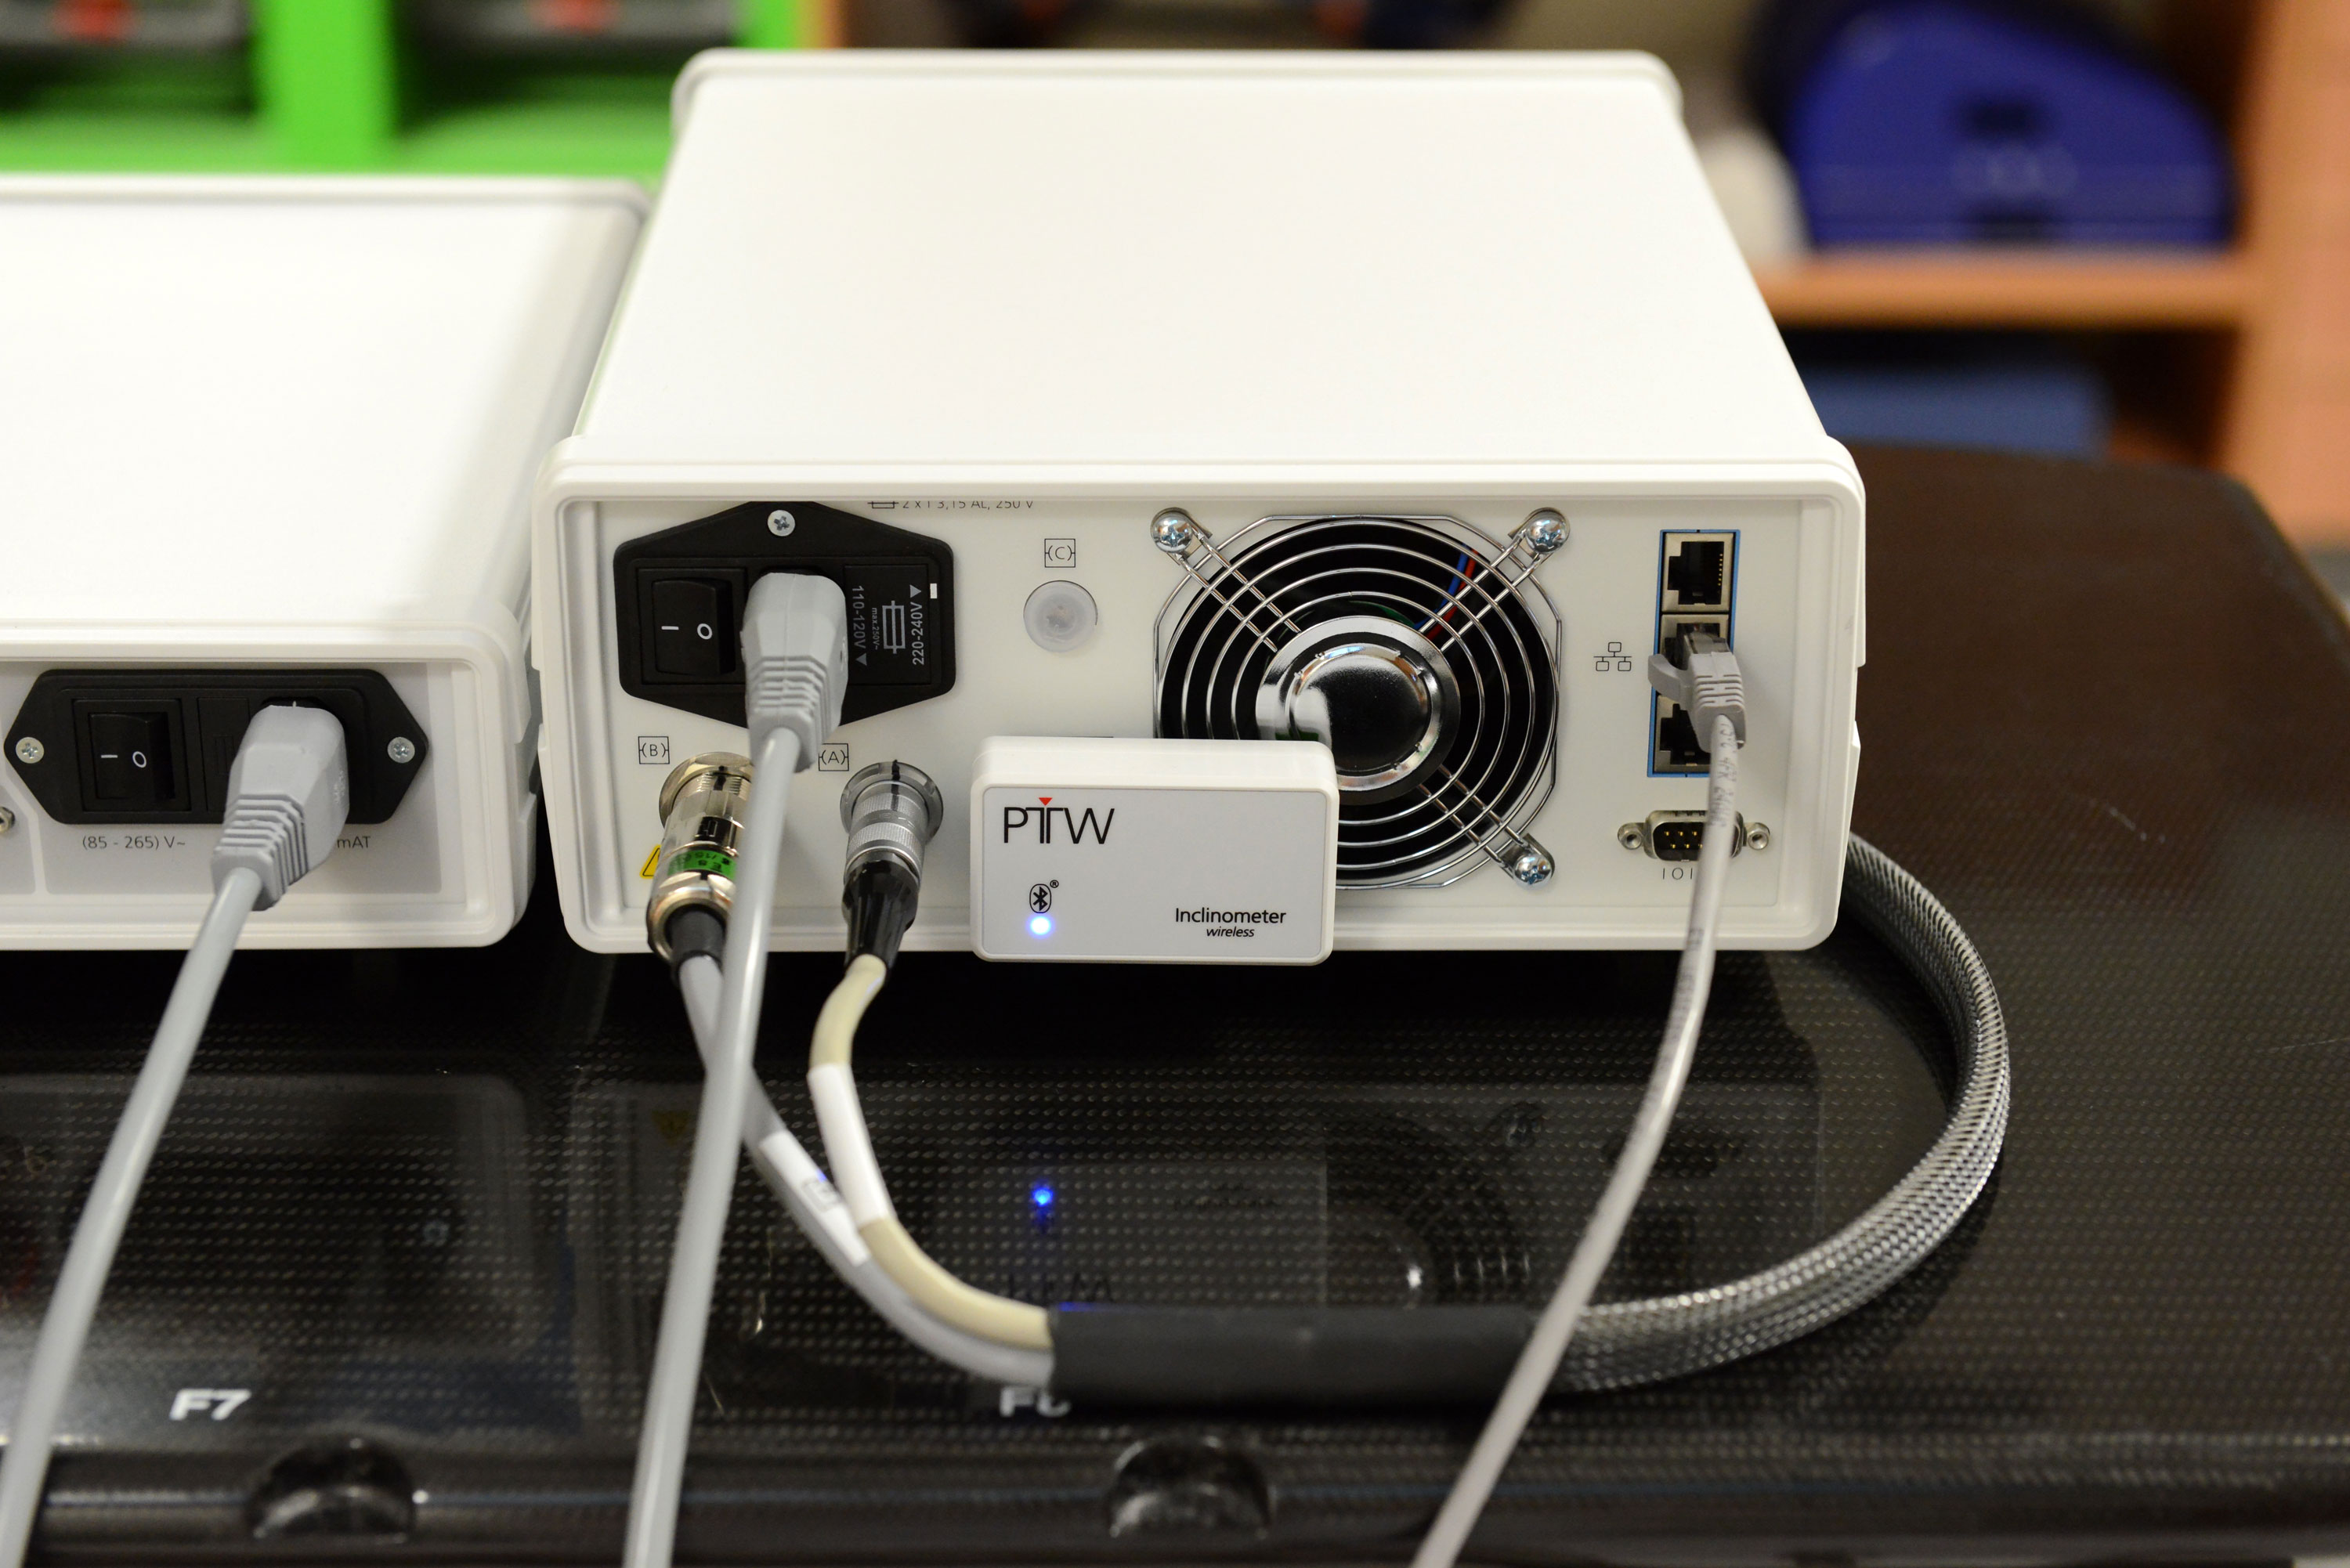
The second cable connects the Interface 4000,
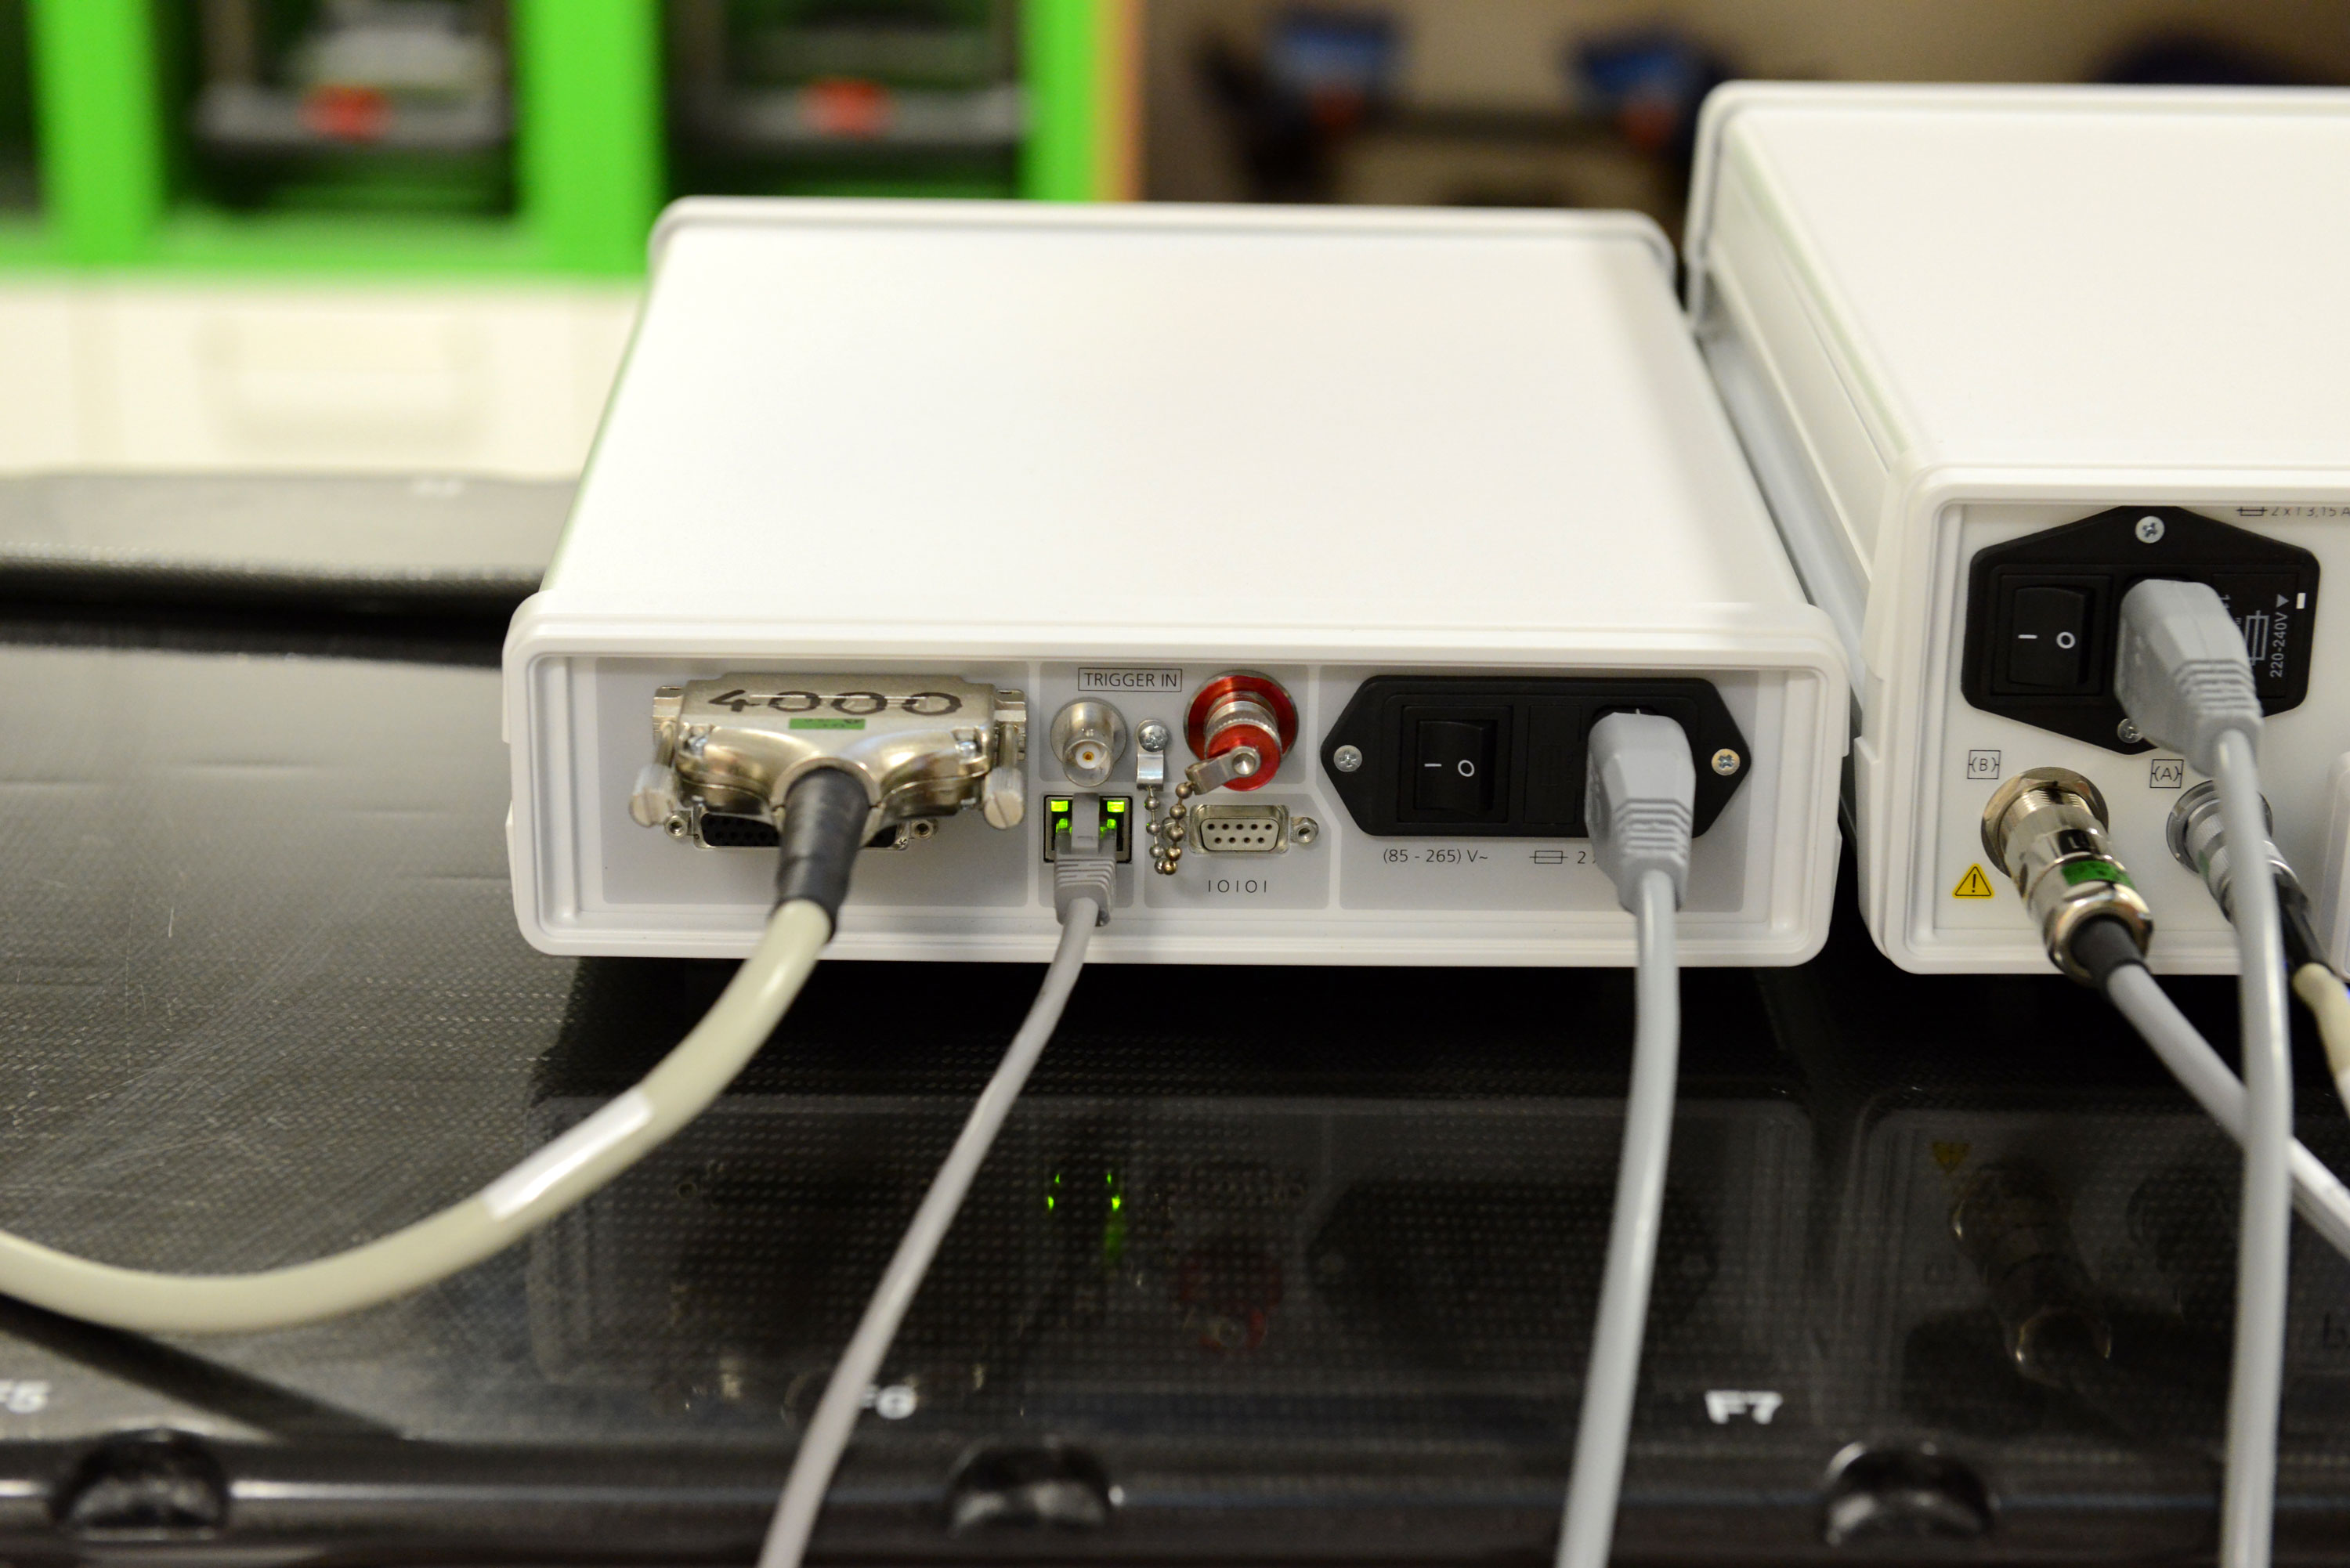
with the OCTAVIUS Detector:
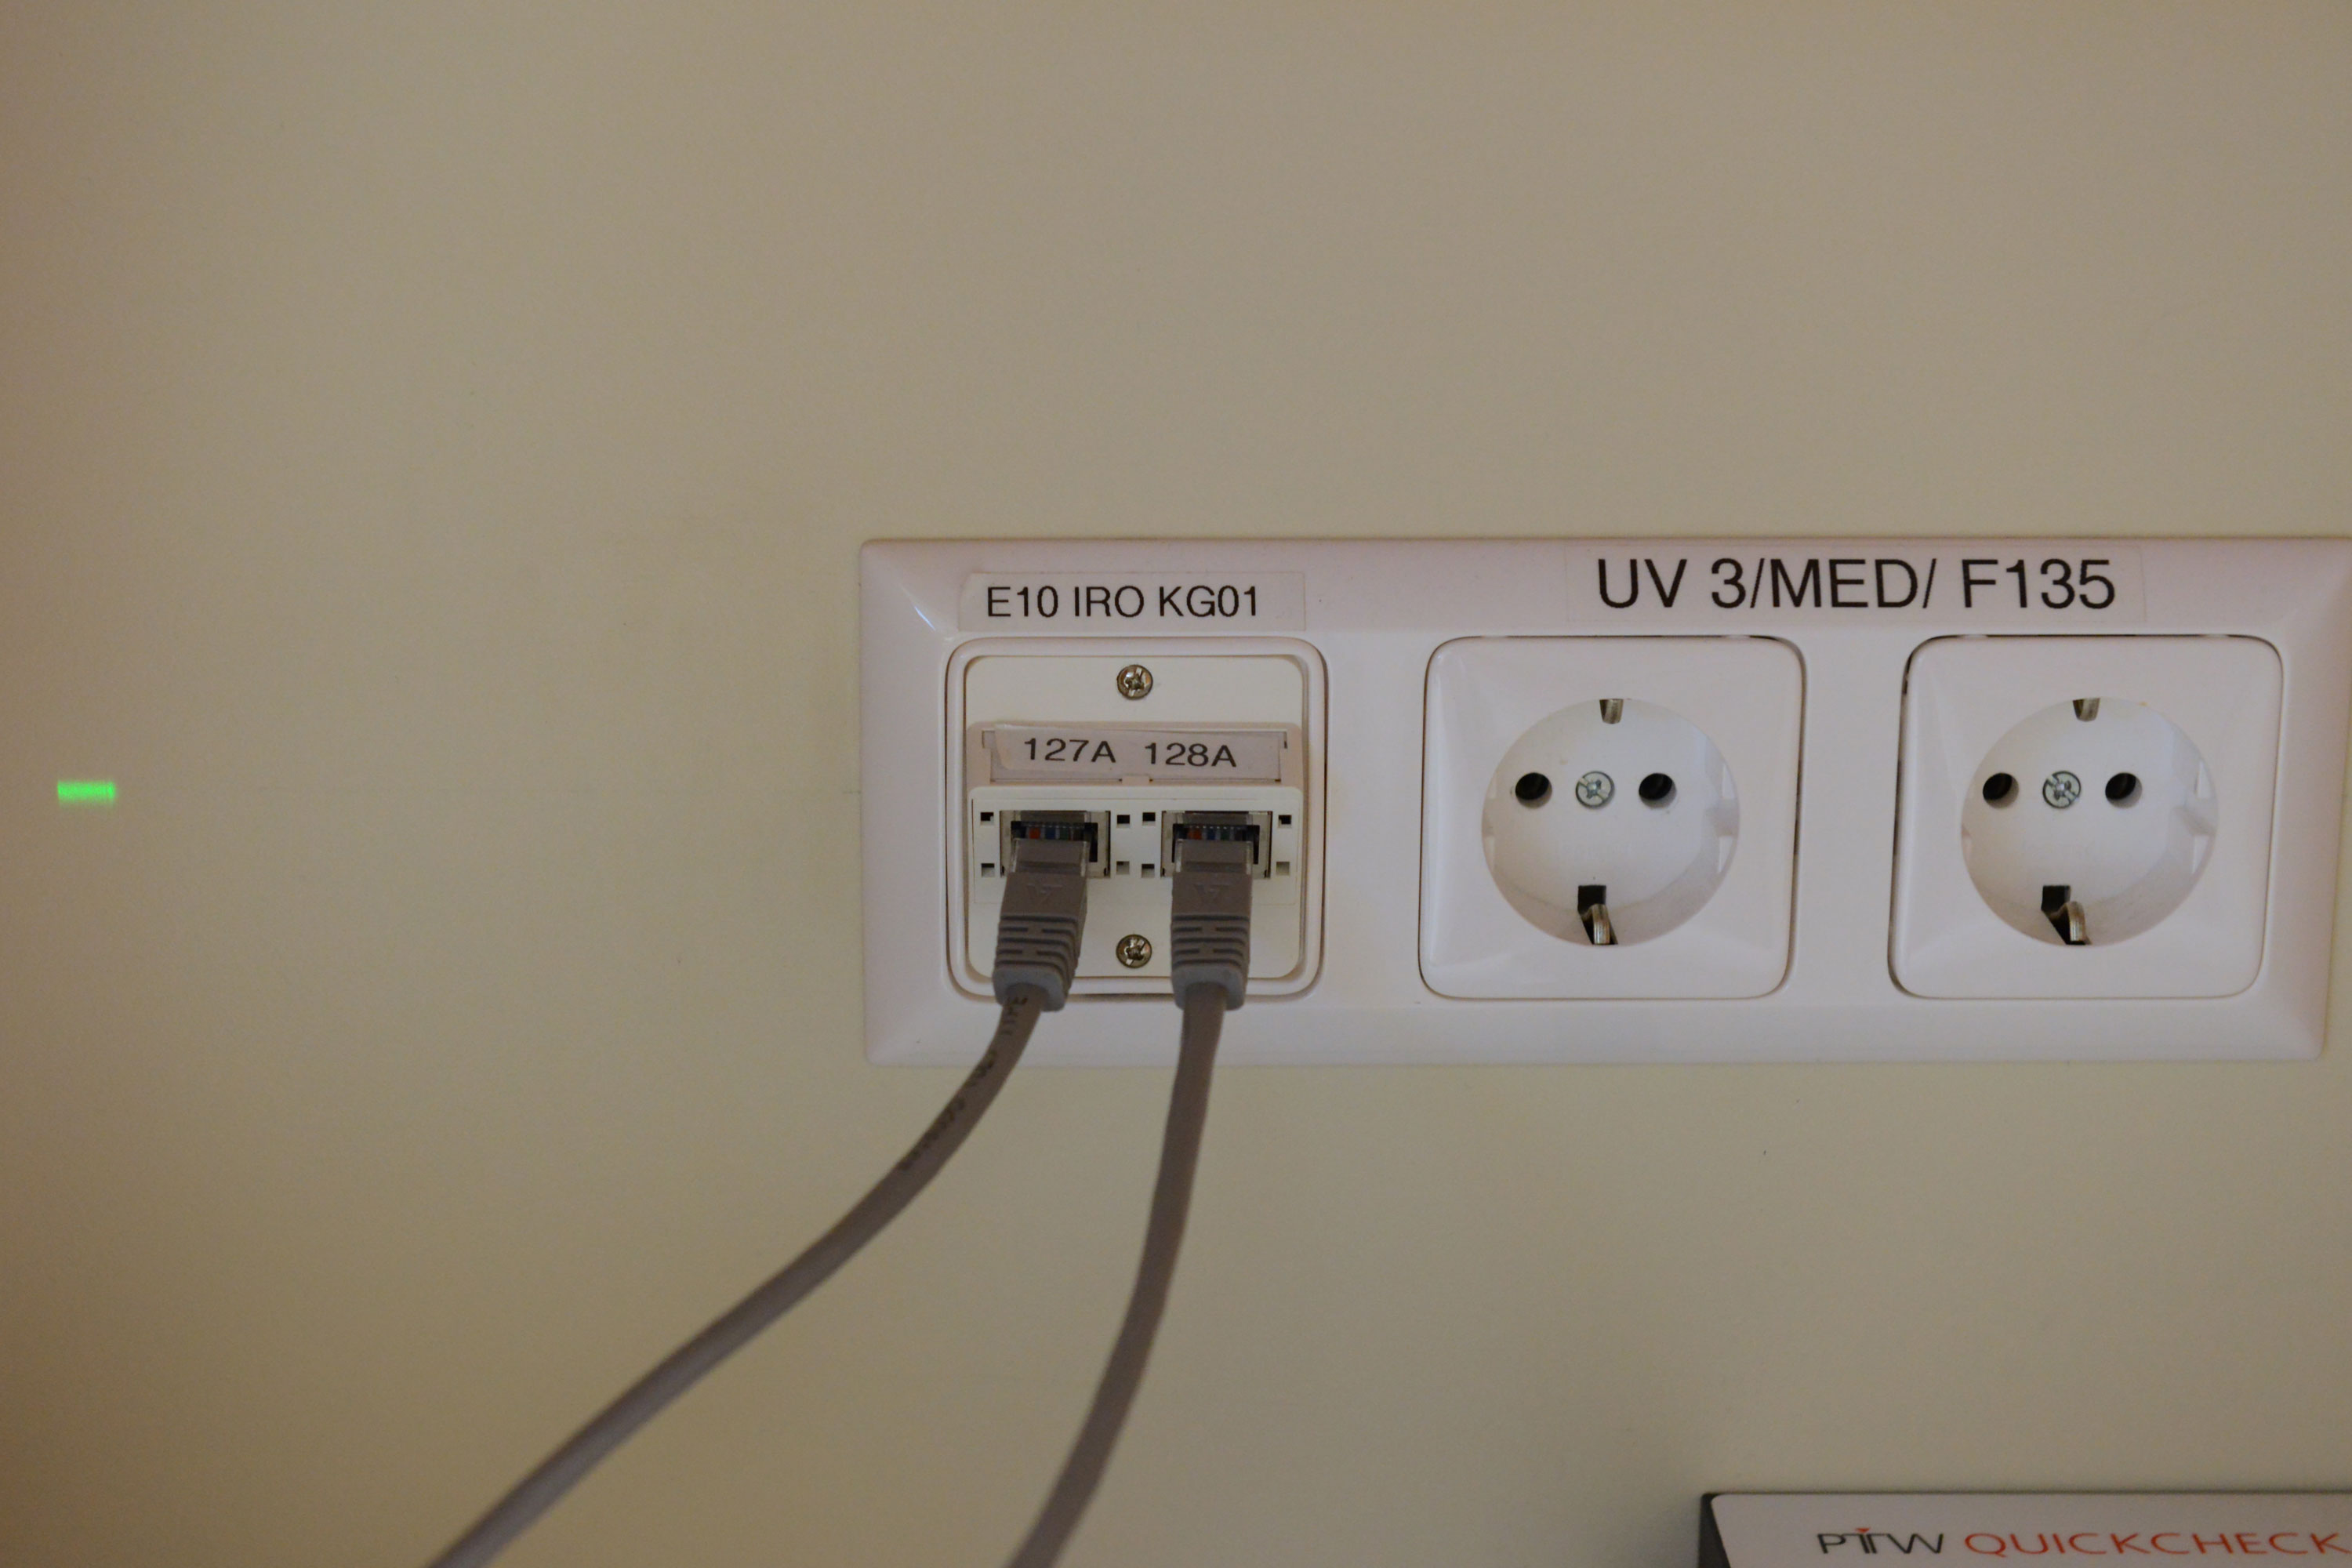
The Control Unit is normally connected to the Interface with a short Ethernet patch cable, and another Ethernet cable connects the Control unit to the hospital LAN. However, this does not work in our institution. The Control Unit contains a passive switch, which is not allowed for security reasons. We therefore modified the Control Unit slightly, and now use two LAN cables for separate connections to the hospital network. This works perfectly.
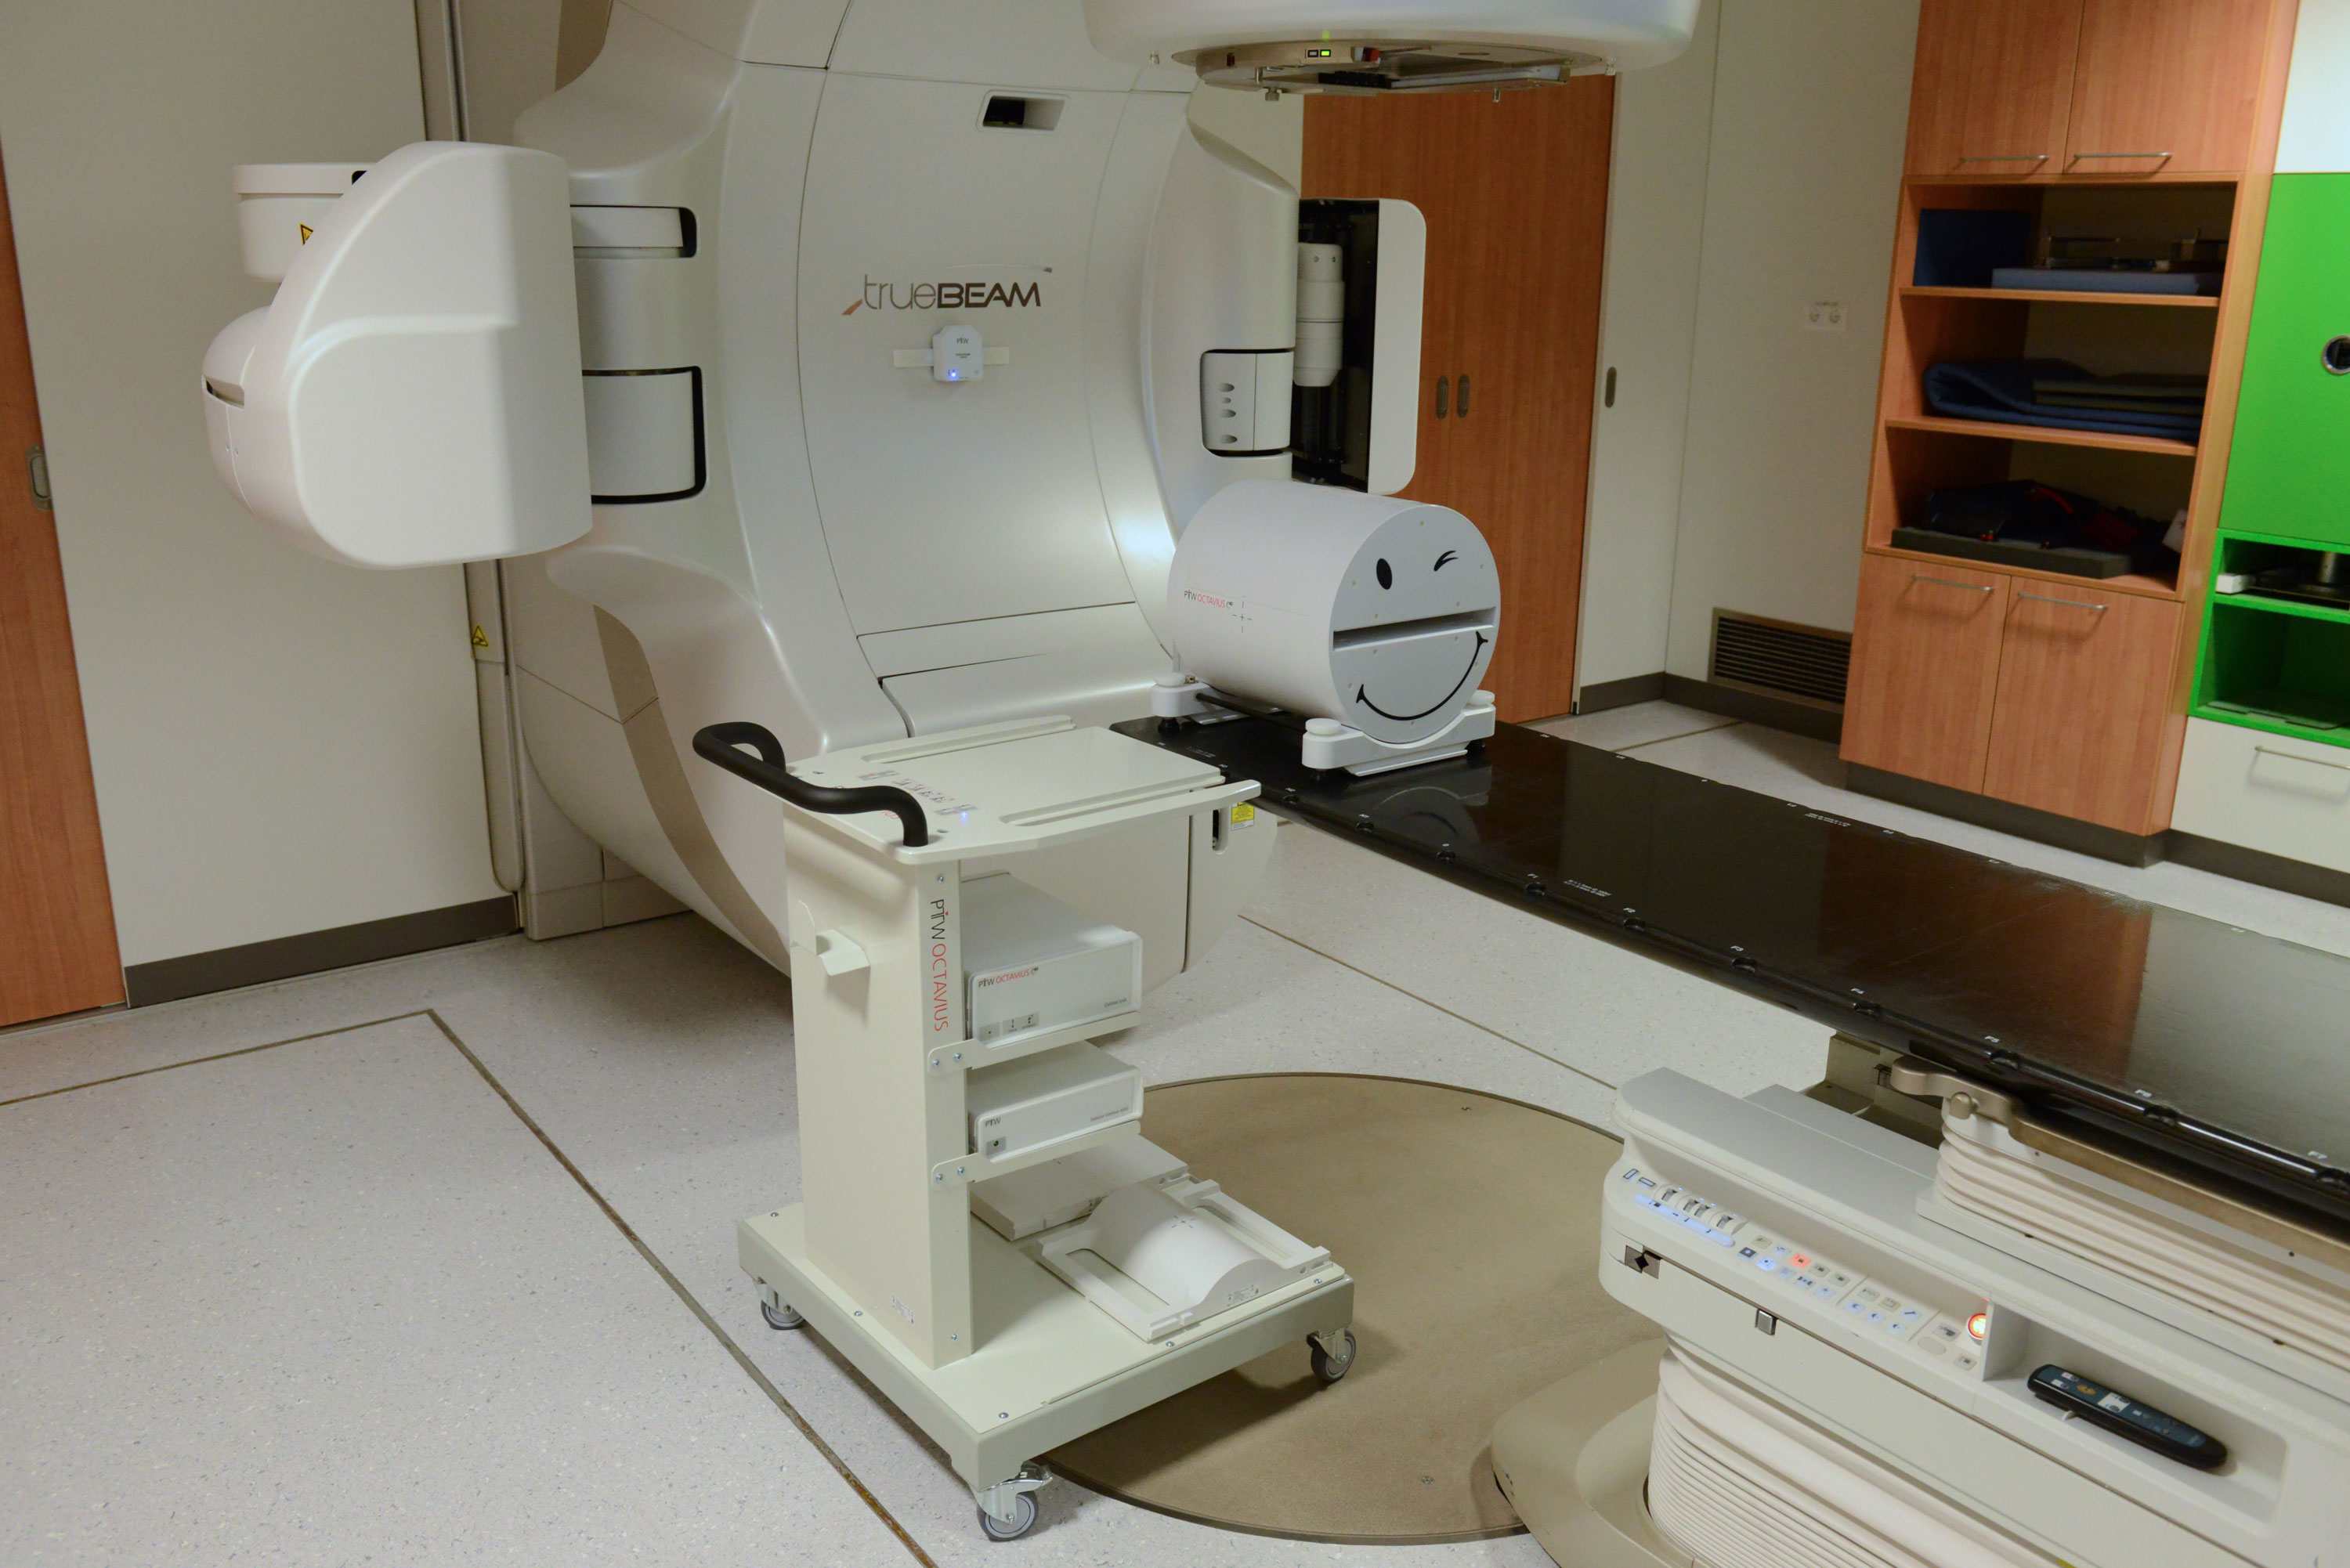
After aligning the phantom with the room lasers and switching on all components, setup is complete:
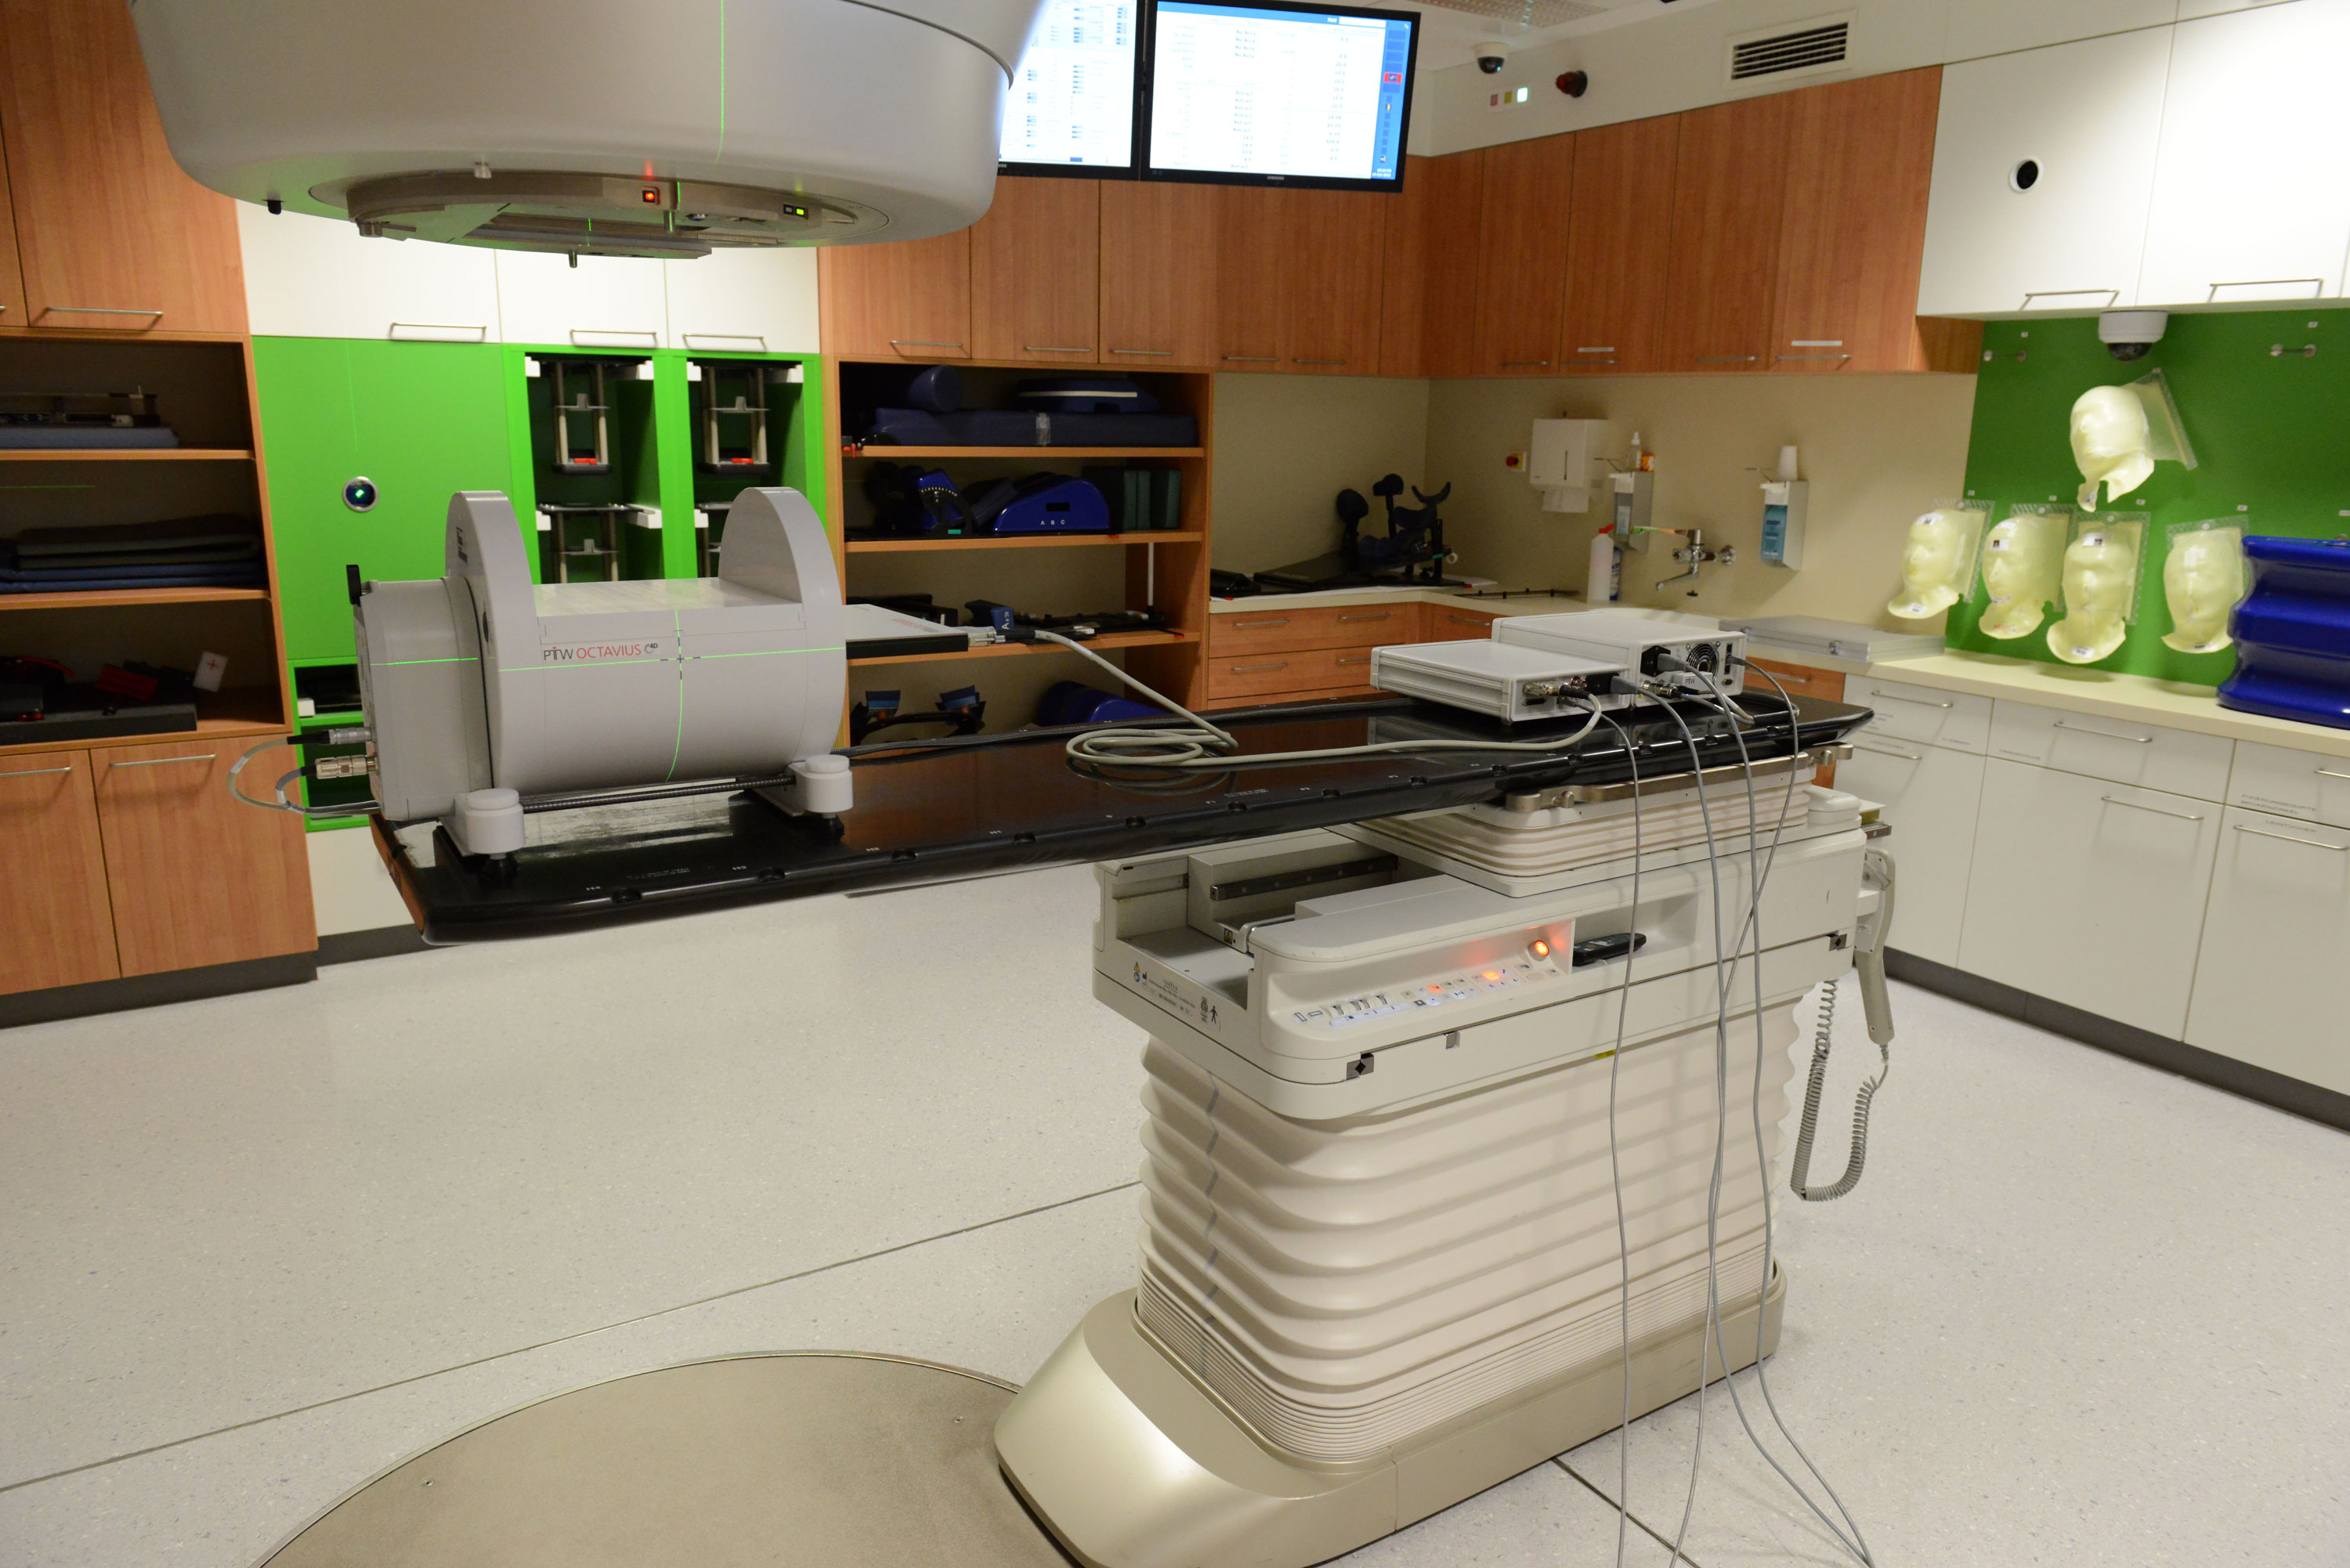
The setup up to this point can be accomplished in less than five minutes.
The Reference Run
The reference run is initiated by pulling out the lever of transportation lock at the back side of the rotation unit. It tells the system where the zero angle of the gantry is. Therefore it is very important that the gantry is at 0° when the reference run is started:
After the reference run, the position of the phantom should not be changed. A new reference run can be initiated at any time.
Now it's time to leave the room. After performing an offset measurement, verification measurements can be started.